
Table of Contents
When it comes to dessert, few things can compete with the mouthwatering perfection of Classic Cherry Delight. This dessert brings together a light, creamy texture with a tangy cherry topping, making it the perfect treat for any occasion. Have you ever wondered how to create something so deliciously simple and utterly delightful? This recipe will guide you through every step of bringing this classic dessert to life.
Classic Cherry Delight is more than just a dessert; it’s a nostalgic experience for many. Who doesn’t remember the sweet taste of cherries and velvety cream coming together to create a blissful moment? It’s the kind of dessert that celebrates simplicity yet shines with flavor and elegance. Whether it’s a cozy family gathering or a festive holiday, Classic Cherry Delight lends itself beautifully to many occasions.
The beauty of this recipe lies in its simplicity and accessibility. You don’t need to be a master baker to whip up this stunning dessert. With just a handful of ingredients and straightforward steps, you can impress your family and friends. Ready to dive into the delicious world of Classic Cherry Delight? Let’s explore some of the key benefits that make this dessert a must-try.
Key Benefits of Classic Cherry Delight
Why you’ll love this recipe
- Quick and Simple: Prepare this in less than 30 minutes.
- No-Bake Option: Perfect for those warm days when the oven feels daunting.
- Family-Friendly: This dessert appeals to mini taste buds as well as adults, making it a crowd-pleaser.
- Versatile: Great for any occasion—family dinners, potlucks, and holidays.
- Beautiful Presentation: The vibrant cherries on top provide a stunning visual appeal.
- Easy to Customize: Adapt the recipe based on seasonal fruits or preferences.
What makes it stand out
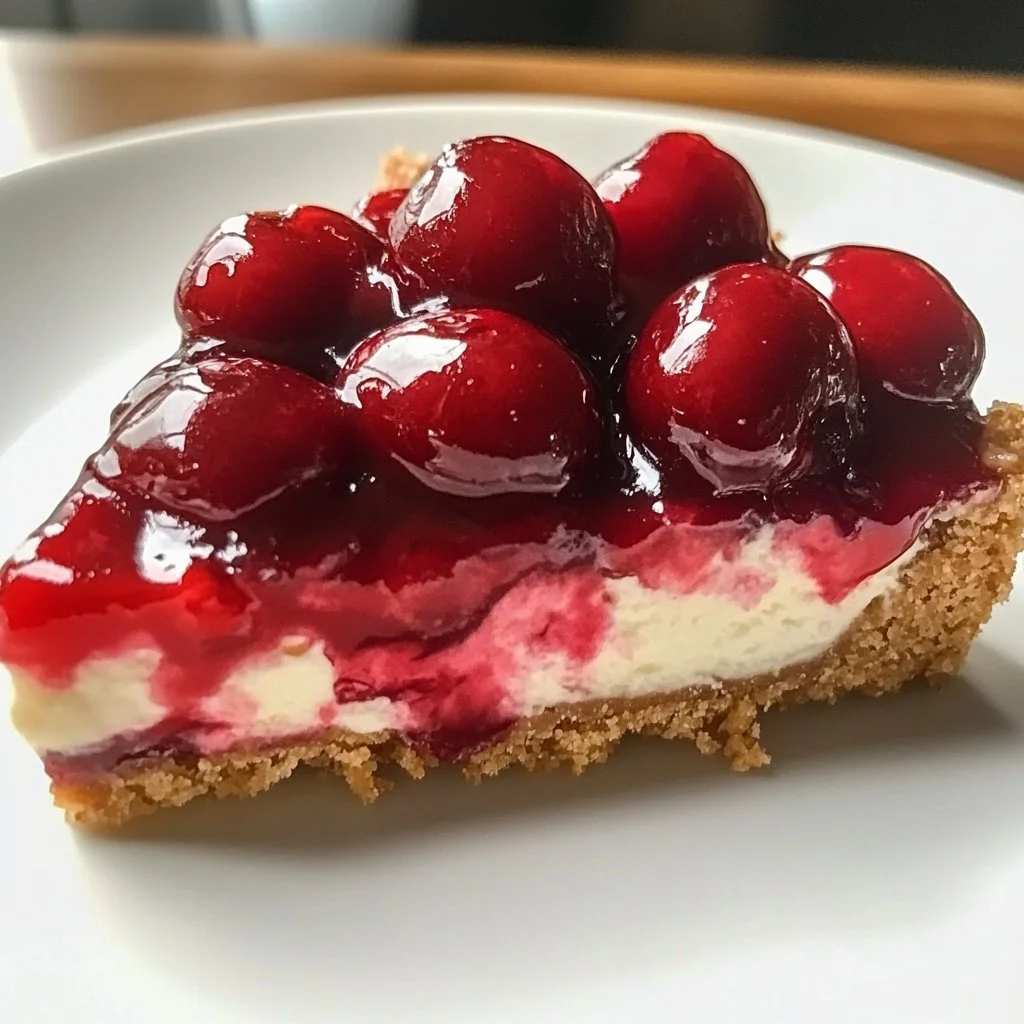
What truly makes Classic Cherry Delight shine is its unique combination of textures and flavors. The buttery graham cracker crust offers a delightful crunch, perfectly balancing the creamy filling and the juicy cherry topping. It’s not just another dessert; it’s a wonderful indulgence that feels special yet is remarkably easy to prepare.
This dessert embraces the best of seasonal fruit, making it equally appealing in the summer with fresh cherries or during the holidays with canned options. You can even switch up the fruit based on what you have available, offering a unique twist every time you make it. How versatile is that?
Ingredients for Classic Cherry Delight
Making Classic Cherry Delight is a breeze, but gathering your ingredients is the first step. Here’s what you’ll need:
Complete ingredient list with measurements
- 1 cup graham cracker crumbs
- 1/2 cup unsalted butter, melted
- 8 oz cream cheese, softened
- 1 cup powdered sugar
- 2 cups whipped topping
- 1 can cherry pie filling
Substitutes and alternatives
- Graham Cracker Crumbs: Use crushed cookies, digestive biscuits, or even Oreos for a chocolaty twist.
- Cream Cheese: Neufchâtel cheese or Greek yogurt can offer a lighter alternative.
- Whipped Topping: Homemade whipped cream or coconut whipped cream for a dairy-free option can work wonders.
- Cherry Pie Filling: Consider using other fruit pie filling such as blueberry, strawberry, or mixed berries to bring a new flavor profile.
How to Make Classic Cherry Delight – Step-by-Step Directions
Step 1: Preheat the oven
Start by preheating your oven to 350°F (175°C). Having the right temperature ensures your crust bakes evenly.
Step 2: Prepare the crust
In a medium bowl, combine 1 cup of graham cracker crumbs with 1/2 cup of melted unsalted butter. Mix well until the crumbs are fully coated. You want a sandy consistency that holds together when pressed.
Step 3: Form the crust
Press the graham cracker mixture firmly into the bottom of a 9×13 inch baking dish. Try to create an even layer that reaches all the way to the edges.
Step 4: Bake the crust
Place the baking dish in the preheated oven and bake for 10 minutes. Watch it closely—it should turn golden brown. Once ready, remove it from the oven and allow it to cool completely.
Step 5: Make the cream cheese filling
In a separate bowl, beat together 8 oz of softened cream cheese and 1 cup of powdered sugar until smooth and creamy. You will know it’s ready when there are no lumps, and it feels fluffy.
Step 6: Fold in the whipped topping
Gently fold in 2 cups of whipped topping into the cream cheese mixture. Use a spatula to combine until everything is mixed well, ensuring not to deflate that lovely airy texture.
Step 7: Spread the filling
Now that the crust is cool, spread the cream cheese mixture evenly over the cooled crust. Use a spatula to make it nice and smooth—that’s the secret to an appealing dessert!
Step 8: Top with cherry pie filling
Open that can of cherry pie filling and spread it evenly over the cream cheese layer. The vibrant red cherries contrast beautifully with the white filling, creating a visual feast.
Step 9: Chill the dessert
Cover the dessert with foil or plastic wrap and place it in the refrigerator. Let it chill for at least 2 hours. This will help the layers to set and makes cutting easier.
Step 10: Serve and Enjoy
Once the waiting period is over, cut into squares or scoops and enjoy! A little extra whipped topping on top is always a great idea, particularly for presentation.
Serving Suggestions for Classic Cherry Delight
Best occasions to serve this dish
Classic Cherry Delight is the ultimate crowd-pleaser, making it perfect for a variety of gatherings:
- Family meals: Ideal for Sunday dinners.
- Potlucks: A hit at any gathering where you need to feed a crowd.
- Holidays: This dessert can grace your Thanksgiving or Christmas tables beautifully.
What to serve with it
Classic Cherry Delight pairs wonderfully with other treats or beverages. Consider these options:
- Fresh fruit salad
- Hot coffee or tea
- A scoop of vanilla ice cream
- A drizzle of chocolate sauce
- Additional whipped cream for topping
Storing Classic Cherry Delight Properly
Best storage practices
To preserve the deliciousness of your Classic Cherry Delight, store it properly. Place leftovers in an airtight container and refrigerate. It should stay fresh for up to 3–4 days.
Reheating and freezing tips
Sadly, this is a no-bake dessert, so there’s no reheating required! However, if you want to store it longer, you can freeze it. Wrap the dish tightly with plastic wrap and foil. It can last up to 2 months in the freezer. When ready to enjoy, thaw overnight in the refrigerator.
Tips & Tricks for Classic Cherry Delight
Mistakes to avoid
- Don’t skip letting the crust cool! It will make your dessert soggy.
- Be careful not to over-mix the cream cheese filling; this will make it dense.
- Avoid using a filling that is too watery; check the consistency before top layering.
Extra tips for better results
- Use fresh cherries if available for a more vibrant taste.
- Experiment with flavored whipped toppings for an added twist.
- Add zest from a lemon or lime for a refreshing kick.
Recipe Variations of Classic Cherry Delight
Creative twists
Get creative with your Classic Cherry Delight by adding:
- Chopped nuts: Sprinkle some toasted almonds or walnuts for extra crunch.
- Spices: A hint of cinnamon or nutmeg can elevate the flavor.
- Seasonal touches: Incorporate pumpkin puree in the fall for a seasonal variation.
Dietary adjustments
Whether you need to accommodate dietary restrictions or just want to try something new:
- Vegan: Use dairy-free cream cheese and whipped topping, and swap the butter for coconut oil.
- Gluten-free: Ensure the graham crumbs are gluten-free, or use ground almonds as a crust.
- Dairy-free: Coconut cream or cashew cream can replace cream cheese.
Conclusion about Classic Cherry Delight
Classic Cherry Delight is more than just a dessert; it’s a delightful experience that everyone can enjoy. With its easy steps, delicious flavors, and beautiful presentation, it checks all the boxes for a perfect dessert. You can take the simple ingredients and transform them into something extraordinary, whether for family gatherings, special occasions, or a simple treat.
I encourage you to try this recipe, share it with your loved ones, and enjoy the wonderful experience that comes with each delicious bite.
FAQs about Classic Cherry Delight
What if it doesn’t turn out right?
If your Classic Cherry Delight doesn’t set as expected, it could be due to over-mixing or not allowing it to chill long enough. Ensure you follow the steps closely and give it adequate time to firm up in the fridge.
Can I prepare it ahead of time?
Absolutely! Classic Cherry Delight can be prepared a day in advance, allowing the flavors to meld together even more beautifully.
What are the best ingredient substitutions?
You can easily substitute cream cheese with Greek yogurt for a lighter version, or swap out cherry filling for any other fruit topping you prefer.
How long can it be stored?
When stored properly in the refrigerator, Classic Cherry Delight lasts for 3–4 days; if frozen, it can be kept for up to 2 months.
Can I use store-bought dough or crust?
Sure! You can buy pre-made graham cracker crusts if you want to save time. Just skip the baking step.
Is this recipe kid-friendly?
Definitely! With its fun layers and sweet flavors, kids love Classic Cherry Delight. Just be mindful of any allergies they might have.
Can I make it allergen-free?
Yes, you can customize this dessert to avoid allergens by using alternative ingredients, such as gluten-free graham crackers and dairy-free cream cheese.
With its delightful flavors and refreshing taste, Classic Cherry Delight is sure to become a beloved recipe in your household. Enjoy every moment of making and sharing this delightful treat!

Irresistible Classic Cherry Delight
Equipment
- Mixing bowls
- Electric Mixer
- 9×13-inch baking dish
- Spatula
- Measuring cups
Ingrédients
Crust
- 1 cup graham cracker crumbs
- 1/2 cup unsalted butter melted
Filling
- 8 oz cream cheese softened
- 1 cup powdered sugar
- 2 cups whipped topping
Topping
- 1 can cherry pie filling
Instructions
- Preheat the oven to 350°F (175°C).
- Combine graham cracker crumbs and melted butter in a bowl until evenly coated.
- Press the mixture firmly into the bottom of a 9×13 inch baking dish to form the crust.
- Bake for 10 minutes until lightly golden, then allow to cool completely.
- In a separate bowl, beat softened cream cheese and powdered sugar until smooth and creamy.
- Gently fold in the whipped topping until fully combined and fluffy.
- Spread the cream cheese mixture evenly over the cooled crust.
- Top with cherry pie filling and spread evenly.
- Cover and refrigerate for at least 2 hours to allow the dessert to set.
- Cut into squares and serve chilled. Optionally, add extra whipped topping before serving.