
Table of Contents
Introduction to Aesthetic Chocolates for Valentine’s Day
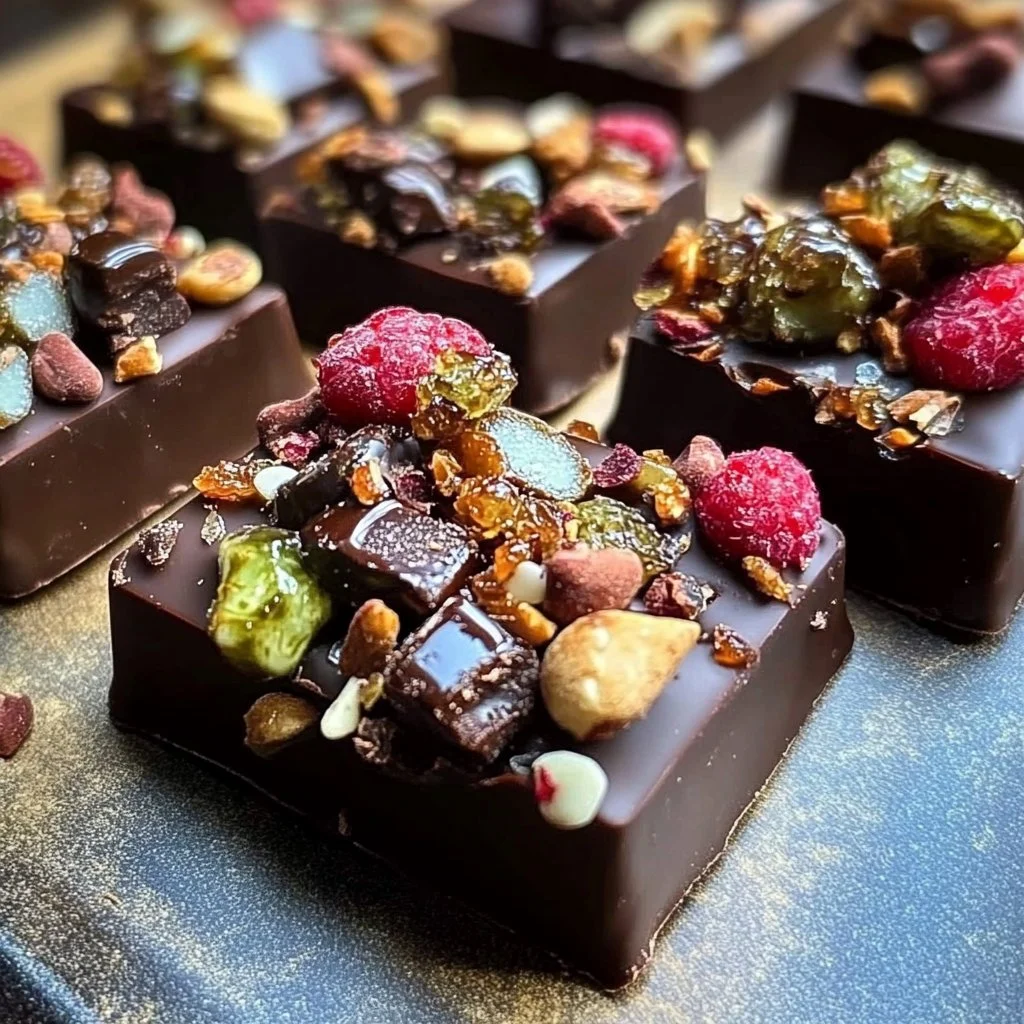
Valentine’s Day is a time for love, and what better way to express your feelings than through handmade chocolates? The Aesthetic Chocolates for Valentine’s Day are not just a treat; they’re a heartfelt gift that shows how much you care. Have you ever thought about crafting something beautiful that also melts in the mouth? With just a few simple ingredients and steps, you can create stunning chocolates that are perfect for sharing or even savoring alone.
Imagine surprising your loved one with a box of colorful, visually appealing chocolates, each one a delightful surprise waiting to be discovered. This recipe is straightforward, making it accessible for even the most novice of cooks. It’s not just a dessert; it’s an experience of joy, creativity, and deliciousness. You get to pick your favorite types of chocolate and customize the toppings to fit your style or the preferences of the person you’re gifting them to.
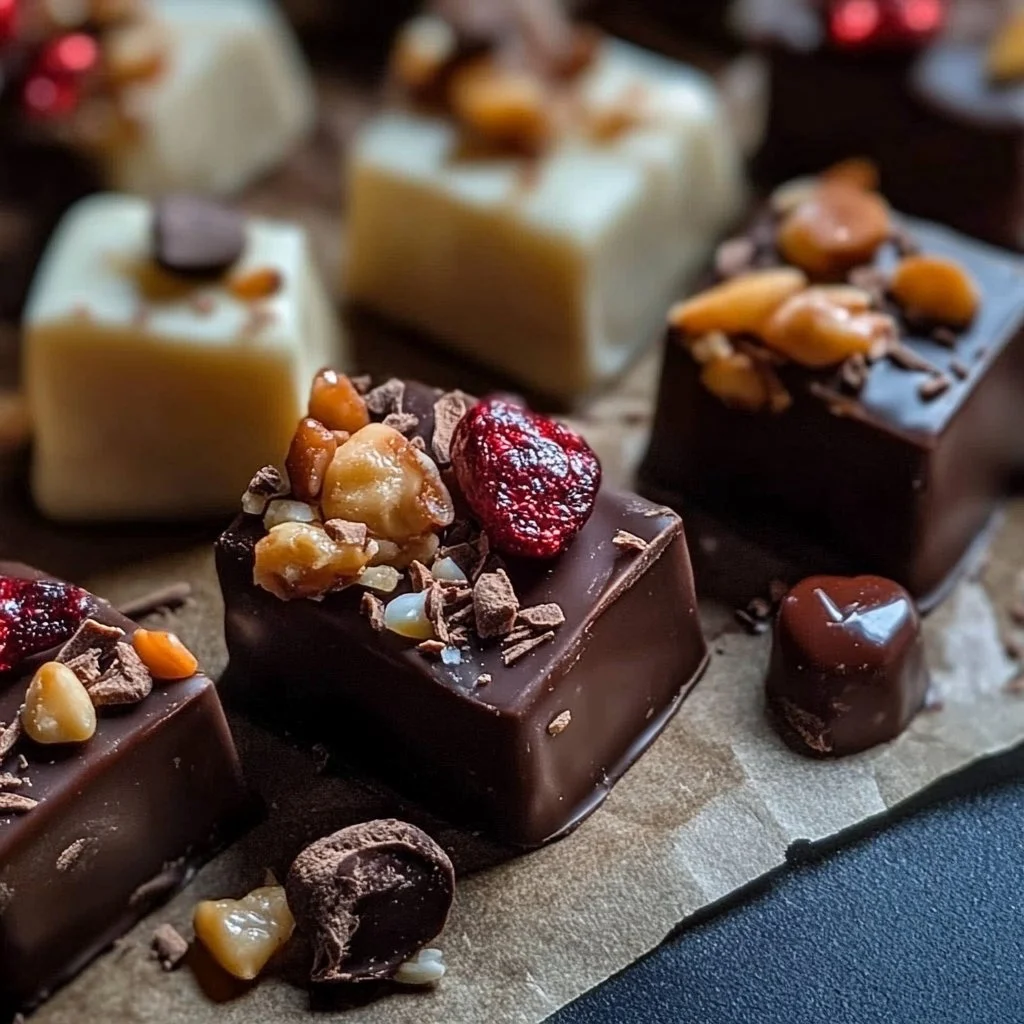
What makes this recipe truly unique is its versatility. Whether you prefer velvety dark chocolate, creamy milk chocolate, or sweet white chocolate, the possibilities are endless. You can personalize the toppings to suit different tastes, from crunchy nuts to fruity dried fruits. This makes Aesthetic Chocolates for Valentine’s Day a recipe that not only tastes amazing but also speaks directly to the heart.
Key Benefits of Aesthetic Chocolates for Valentine’s Day
- Flavor Explosion: Each chocolate burst with your choice of flavor, from nutty to fruity.
- Customizable: Easily tailor toppings to fit personal tastes or dietary restrictions.
- Simple Process: Requires minimal cooking skills, making it perfect for everyone.
- Great for Gifting: Beautiful presentation makes them an ideal gift for loved ones.
- Activity Opportunity: Enjoy making these chocolates together with family or friends.
- Lasting Treat: Makes for a delightful snack following Valentine’s Day.
What Makes It Stand Out
Aesthetic Chocolates for Valentine’s Day stand out because they allow for complete customization. You can let your imagination run wild when selecting toppings and chocolate types. These chocolates aren’t just about flavor; they’re a canvas where you can showcase your creativity and how well you know the recipient’s preferences.
The personalization this recipe allows also sets it apart from traditional store-bought chocolates. You control the quality of ingredients, which means you can focus on making a gourmet experience right from your kitchen. Perfect for romantic gestures, birthday gifts, or just to treat yourself, these chocolates become a meaningful part of the occasion.
Ingredients for Aesthetic Chocolates for Valentine’s Day
- Chocolate: Choose from milk, dark, or white chocolate, about 1-2 cups.
- Toppings: Options include:
- Sprinkles (your choice of color)
- Nuts (chopped almonds, hazelnuts, etc.)
- Dried fruits (cranberries, apricots, etc.)
- Edible glitter (for that extra sparkle)
Substitutes and Alternatives
For those with allergies, various substitutes can be utilized. If someone is allergic to nuts, consider using seeds like sunflower seeds or pumpkin seeds for crunch. For a dairy-free version, opt for vegan chocolate that consists of cocoa mass and is free of any milk content.
There are also gluten-free options available, so if you’re looking at topping choices, stay away from those that may contain gluten, particularly certain cookies or bars.
How to Make Aesthetic Chocolates for Valentine’s Day – Step-by-Step Directions
Step 1 – Prepare Ingredients
Gather all your ingredients on the countertop. Ensure your chocolate is chopped into small, even pieces to facilitate consistent melting.
Step 2 – Cook the Base
In a microwave-safe bowl or a double boiler, melt the chocolate slowly. If using a microwave, heat in bursts of 20-30 seconds, stirring in between until fully melted and smooth.
Step 3 – Pour the Chocolate
Once your chocolate is melted, carefully pour it into chocolate molds of your choice, filling them halfway. This allows room for the toppings and additional chocolate.
Step 4 – Add Toppings
Before the melted chocolate starts to set, sprinkle your chosen toppings generously into the molds. Feel free to mix and match for unique combinations.
Step 5 – Fill the Molds
Cover the toppings with additional melted chocolate, ensuring each topping is encased. The molds should be filled to the top while resulting in a smooth surface.
Step 6 – Tap the Molds
Gently tap the molds on the countertop to release any air bubbles trapped inside. This step will help achieve a smooth, glossy finish on your chocolates.
Step 7 – Chill the Molds
Place the molds in the refrigerator and allow the chocolate to chill for around 25-30 minutes or until hardened completely.
Step 8 – Remove the Chocolates
Once hardened, carefully flex the molds to release the chocolates. Handle them gently to maintain their beautiful shape.
Step 9 – Package for Gifting
For gifting, you can package the chocolates in cute boxes or bags. Consider adding a personalized note or card for a special touch.
Serving Suggestions for Aesthetic Chocolates for Valentine’s Day
Best Occasions to Serve This Dish
These Aesthetic Chocolates for Valentine’s Day are perfect for a romantic evening, a special date night, or as a thoughtful gift for someone special. They also work well for celebrations like anniversaries or birthdays, adding an extra sweet touch to any event.
What to Serve With It
Pair these chocolates with a glass of red wine or a cup of coffee to elevate the experience. You can also serve them alongside fresh fruit, like strawberries or raspberries, to complement the rich chocolate flavor.
How to Store Aesthetic Chocolates for Valentine’s Day Properly
Best Storage Practices
Store your Aesthetic Chocolates for Valentine’s Day in an airtight container in a cool place. For longer freshness, place them in the fridge away from strong odors to prevent flavor contamination.
Reheating and Freezing Tips
If you need to freeze the chocolates for later use, place them in a freezer-friendly bag marked with the date. When ready to enjoy, let them thaw in the refrigerator rather than at room temperature to maintain texture.
Tips & Tricks for Aesthetic Chocolates for Valentine’s Day
Mistakes to Avoid
1 – Overheating the chocolate can lead to a burnt taste and a gritty texture. Melt slowly and stir often.
2 – Not tapping the molds can lead to air bubbles, which will present unattractive holes in your finished chocolates.
3 – Filling the molds too much can cause overflow, resulting in a mess and wasted chocolate.
4 – Using wet utensils can seize the chocolate and ruin its smoothness, so always ensure everything is dry.
5 – Forgetting to let the chocolate set completely can lead to a melting mess when you try to remove them from molds.
Extra Tips for Better Results
Consider experimenting with flavors by adding a touch of essential oils, like peppermint or orange, for a unique taste twist. For presentation, drizzle melted chocolate over the finished chocolates for an artistic finish.
Recipe Variations of Aesthetic Chocolates for Valentine’s Day
Creative Twists
Add a layer of caramel or a sprinkle of sea salt on top of the chocolate for a gourmet touch. You can also create themed chocolates, like red or pink chocolates for Valentine’s Day by using food coloring in the white chocolate.
Dietary Adjustments
For a vegan version, use coconut oil as a binding agent in case you wish to add some texture. Always check the labels for chocolate and toppings to ensure they match your dietary requirements.
Conclusion about Aesthetic Chocolates for Valentine’s Day
Trying out the Aesthetic Chocolates for Valentine’s Day is more than just cooking; it’s an adventure in creativity, flavor, and love. The process of crafting these chocolates allows you to engage with your artistic side while producing a delightful treat that can convey your feelings effortlessly. As you experiment with flavors and decorations, you’ll create not just chocolates but treasured memories. So gather your ingredients and start creating a sweet piece of art that is sure to delight anyone lucky enough to receive it.
FAQs about Aesthetic Chocolates for Valentine’s Day
1 – Can I make these chocolates ahead of time?
Yes, you can prepare Aesthetic Chocolates for Valentine’s Day up to two weeks ahead. Store them properly to maintain freshness.
2 – What is the best way to melt chocolate?
Use a microwave in short bursts or a double boiler to melt chocolate smoothly without burning it. Stir frequently to ensure even melting.
3 – Can I use cocoa powder instead of chocolate?
No, cocoa powder cannot be used as a substitute for melting as it does not have the same consistency or fat content as chocolate.
4 – How do I get shiny chocolates?
To achieve a shiny finish, make sure you are using high-quality chocolate and avoid overheating during the melting process.
5 – Can I freeze these chocolates?
Yes, Aesthetic Chocolates for Valentine’s Day can be frozen. Just make sure they are in a sealed container to avoid freezer burn.
6 – What toppings do you recommend?
Great toppings include nuts, sprinkles, dried fruit, and edible glitter. You can mix and match based on personal preferences.
7 – Can I use store-bought chocolate molds?
Absolutely! Store-bought molds come in various shapes and sizes, adding an extra layer of creativity to your presentation.
8 – How should I package the chocolates for gifts?
Use decorative boxes or bags, and consider adding a personalized note for a thoughtful touch.
9 – How long do these chocolates last?
When stored correctly, they can last about two weeks at room temperature and longer if refrigerated.
10 – What if I want to make them healthier?
Consider using dark chocolate with higher cocoa content, and select toppings like nuts and seeds to enhance the nutritional profile.

Aesthetic Chocolates for Valentine’s Day
Equipment
- Silicone Chocolate Mold
- Microwave-safe Bowl
Ingrédients
Chocolate Shell
- 300 g chocolate dark, milk, or white, chopped
Fillings
- 0.25 cup hazelnut spread
- 0.25 cup fruit jam raspberry or strawberry
- edible gold dust optional, for decoration
- sprinkles optional, for decoration
Instructions
- Melt chopped chocolate in a microwave-safe bowl in 30-second intervals, stirring until smooth.
- Brush or spoon melted chocolate into silicone molds, coating evenly. Chill for 10 minutes until set.
- Add a small amount of filling into each chocolate shell.
- Cover fillings with more melted chocolate and smooth the tops.
- Decorate with edible gold dust or sprinkles if desired.
- Chill chocolates for at least 1 hour until fully set, then gently remove from molds.