
Table of Contents
Introduction to Coffee Ice Cream
When the sun shines brightly and the heat is on, there’s nothing quite like a scoop of Coffee Ice Cream to bring a refreshing coolness to your day. Imagine indulging in a creamy, rich dessert that’s infused with the deep, robust flavors of coffee. It’s a delightful combination that makes every spoonful an experience to savor. Have you ever wondered about the magic that turns everyday ingredients into something extraordinary? This recipe is special not just for its taste, but also for its simplicity and versatility.
Whether you’re hosting a summer barbecue, celebrating a birthday, or simply treating yourself after a long day, Coffee Ice Cream fits any occasion. What makes this dessert unique is how it marries the comforting taste of coffee with the sweet, creamy texture of ice cream. Plus, the optional coffee liqueur adds an adult twist that can elevate the experience for those looking for a little extra kick.
The best part? Making Coffee Ice Cream at home is both easy and rewarding. You don’t need to be a culinary expert to whip up this delicious treat. With just a few ingredients, you can create a frozen dessert that stands out from store-bought options. Are you ready to discover the joys of making your very own Coffee Ice Cream? Let’s dive into this wonderful recipe that will surely become a favorite in your household.
Key Benefits of Coffee Ice Cream
Why You’ll Love This Recipe
- Rich coffee flavor that coffee lovers crave.
- Creamy texture that melts delightfully in your mouth.
- Easy to make with just a few ingredients.
- Versatile options for customization, from flavors to mix-ins.
- Perfect for any occasion, from casual gatherings to special celebrations.
- A homemade treat that’s healthier than many store-bought options.
What Makes It Stand Out
One of the standout features of Coffee Ice Cream is its originality. While traditional ice cream might include vanilla or chocolate, this version boasts an aromatic coffee base that excites the palate. Add the richness of coffee liqueur, and you have a dessert that feels gourmet without the hassle.
Customization is another fantastic aspect. You can adjust the sweetness, try different types of coffee, or even add chocolate chips or nuts. This adaptability means you can enjoy Coffee Ice Cream in countless ways, making it an instant crowd-pleaser. Serving it at a dinner party or a summer picnic is sure to impress your guests and leave them craving more.
Ingredients for Coffee Ice Cream
Complete Ingredient List with Measurements
- 2 cups heavy cream
- 1 cup whole milk
- 1 cup granulated sugar
- 1 tablespoon vanilla extract
- 1 cup strong brewed coffee, cooled
- 1/2 cup coffee liqueur (optional)
- Pinch of salt
Substitutes and Alternatives
If you’re looking for substitutions due to allergies or dietary preferences, fear not! You can swap the heavy cream with coconut cream for dairy-free options or use almond milk to replace whole milk. For those who require a less sweet treat, consider reducing the amount of sugar in the recipe. The coffee liqueur is optional; if you prefer a non-alcoholic version, simply omit it without affecting the overall flavor.
How to Make Coffee Ice Cream – Step-by-Step Directions
Step 1 – Prepare Ingredients
Start by gathering all your ingredients on a clean workspace. Ensure your coffee is brewed strong and cooled, as this will enhance the flavor of your Coffee Ice Cream. Measure out the heavy cream, whole milk, granulated sugar, and vanilla extract for easy access during mixing.
Step 2 – Cook the Base
In a mixing bowl, whisk together the heavy cream, whole milk, sugar, and a pinch of salt. Whisk until the sugar is fully dissolved. This process is crucial for a smooth texture in your ice cream. You want the mixture to be creamy and well-blended, leading to a luxurious final product.
Step 3 – Blend in the Coffee
Next, stir in the cooled, brewed coffee and the vanilla extract. If you’re using coffee liqueur for an adult twist, add it in at this stage. Combined, these ingredients should create a beautifully rich and aromatic mixture. Make sure everything is mixed evenly for the best flavor distribution.
Step 4 – Chill the Mixture
Cover the bowl with plastic wrap or a lid and place it in your refrigerator. Allow the mixture to chill for at least 2 hours, though letting it sit overnight will yield the best results. This resting period helps the flavors meld and improves the texture.
Step 5 – Prepare Your Ice Cream Maker
When you’re ready to churn, take your chilled mixture out of the fridge. Follow the manufacturer’s instructions for your ice cream maker. Some machines require pre-freezing the bowl; make sure to prep ahead if necessary.
Step 6 – Churn the Ice Cream
Pour the chilled mixture into the ice cream maker and churn according to the machine’s instructions, usually for about 20-25 minutes. You’ll notice that the texture of your Coffee Ice Cream becomes thick and creamy as it churns. Pay attention to the consistency; it should be soft but not runny.
Step 7 – Transfer to Container
Once churning is complete, transfer the soft ice cream to a lidded container. Use a spatula to smooth it out, making it easier to scoop later on. This is where you can add any additional mix-ins, like chocolate chips or crushed nuts, if you wish.
Step 8 – Freeze for Firmness
Seal the container and place it in the freezer. Let the ice cream firm up for at least 4 hours, or until it reaches your desired firmness. Be patient; allowing it to freeze properly is critical to achieving the right texture.
Step 9 – Scoop and Serve
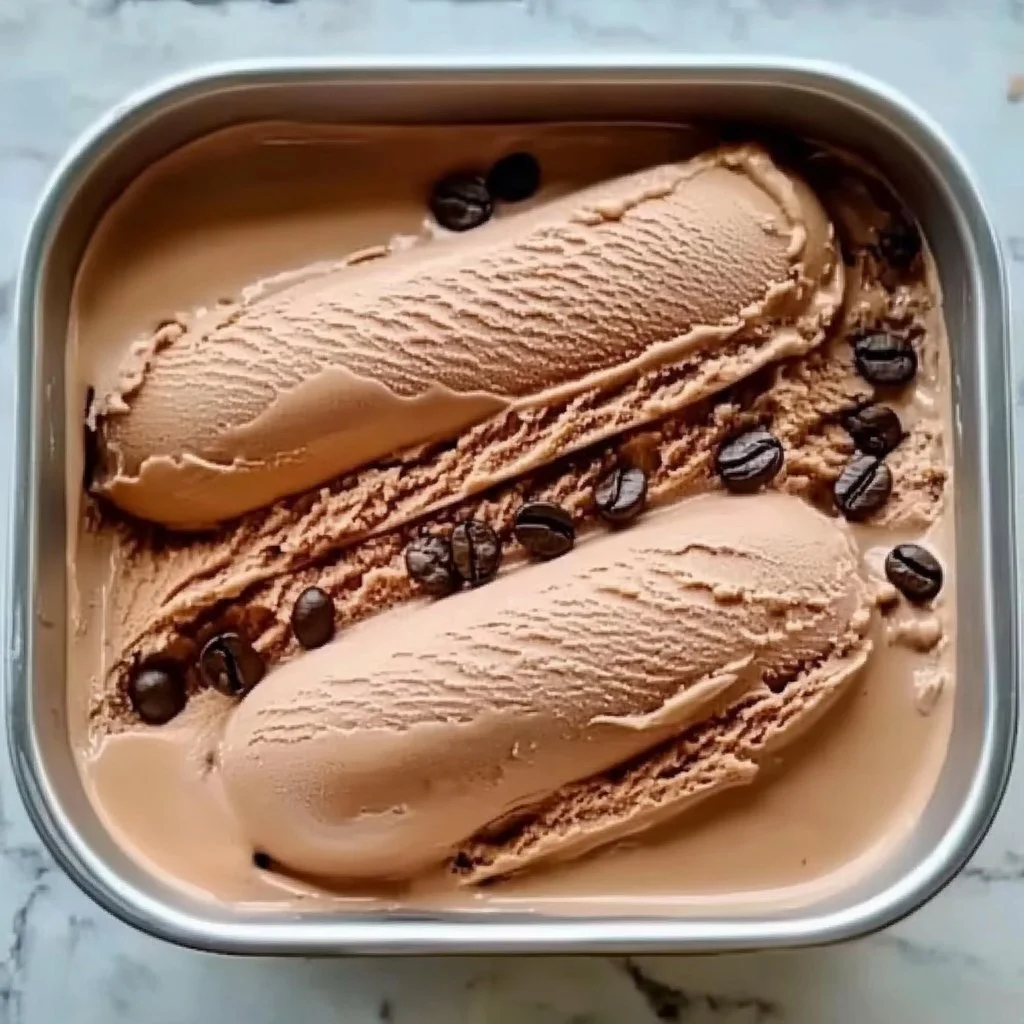
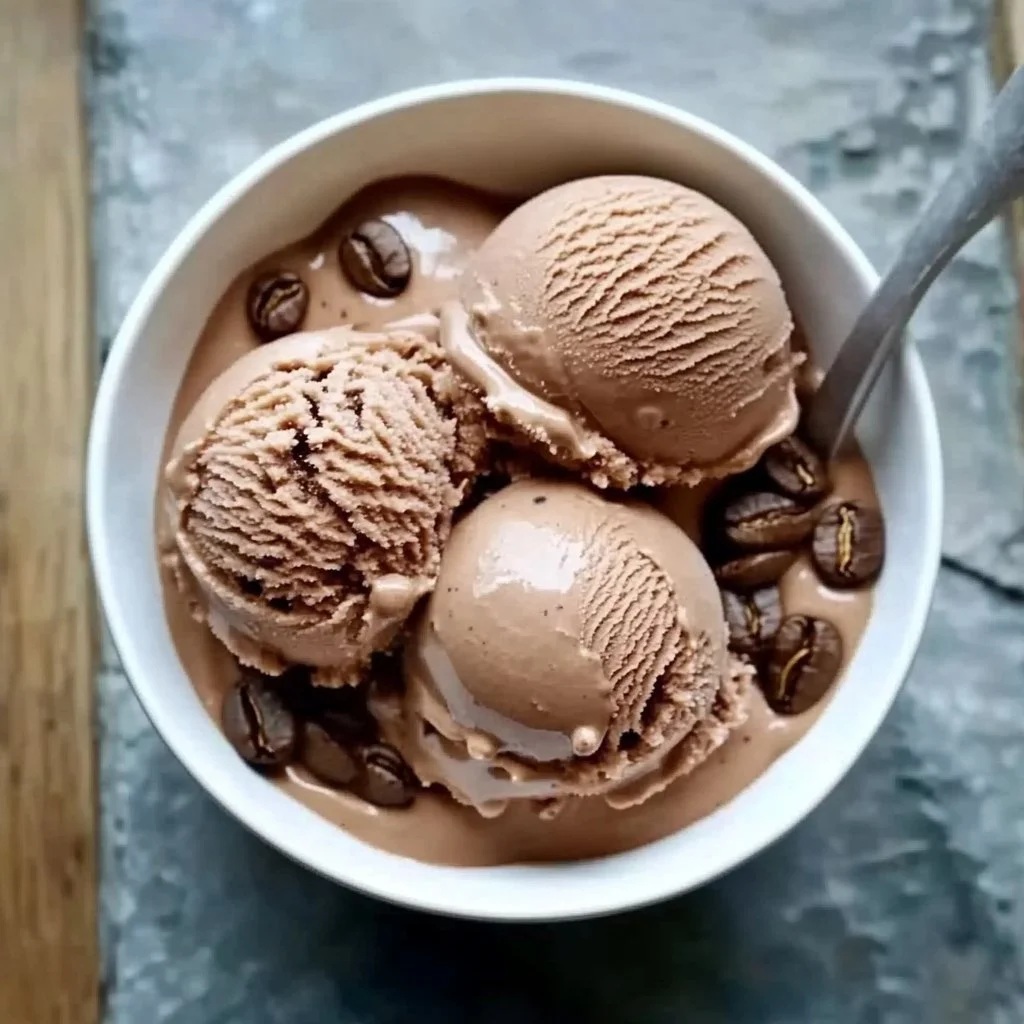
Once it’s ready, scoop your Coffee Ice Cream into bowls or cones. You can garnish with a sprinkle of cocoa powder, chocolate drizzle, or even serve it alongside a warm brownie for an indulgent treat.
Serving Suggestions for Coffee Ice Cream
Best Occasions to Serve This Dish
Coffee Ice Cream is a fantastic dessert for summer parties, backyard barbecues, or family movie nights. Its refreshing flavor makes it ideal for warm days, while its coffee essence appeals to adults and kids alike. For dinner parties, serve it as a sophisticated dessert that complements a variety of meals.
What to Serve With It
Pair your Coffee Ice Cream with homemade chocolate sauce, whipped cream, or crushed nuts for added texture and flavor. It also goes wonderfully with a slice of pie or cake. Enjoy it with a hot cup of coffee to create a delightful coffee-centric experience.
How to Store Coffee Ice Cream Properly
Best Storage Practices
To ensure your Coffee Ice Cream remains fresh, store it in an airtight container. When you place it in the freezer, avoid leaving it uncovered to prevent ice crystals from forming. Parchment paper can be placed directly on the ice cream before sealing the lid for added protection against freezer burn.
Reheating and Freezing Tips
If your Coffee Ice Cream becomes too hard, let it sit at room temperature for a few minutes before scooping. If it’s become icy, you can blend it briefly in a food processor to restore its creamy texture. Always keep it tightly sealed in the freezer to maintain the best quality.
Tips & Tricks for Coffee Ice Cream
Mistakes to Avoid
- Skipping the chilling step can result in a less creamy texture.
- Don’t overfill your ice cream maker; this can prevent proper churning.
- Forgetting to mix the ingredients thoroughly can lead to an uneven flavor profile.
- Using hot coffee instead of cooled can cause the mixture to not set properly in the ice cream maker.
- Not freezing the ice cream long enough can result in a soft serve consistency instead of a scoopable dessert.
Extra Tips for Better Results
For a richer flavor, try using espresso instead of regular coffee or adding a pinch of cinnamon to the mixture. Serving Coffee Ice Cream in chilled bowls can enhance the experience, keeping your delicious dessert cold longer. Consider experimenting with different types of sweeteners, such as honey or maple syrup, for unique flavor variations.
Recipe Variations of Coffee Ice Cream
Creative Twists
- Mocha Chocolate Chip: Add semi-sweet chocolate chips during the last few minutes of churning for a delightful mocha twist.
- Vanilla Hazelnut: Swap out the regular coffee for hazelnut-infused coffee and add chopped hazelnuts for a crunchy texture.
- Mint Coffee Ice Cream: Mix in a few drops of peppermint extract for a refreshing, minty version that’s perfect for the holidays.
Dietary Adjustments
For a vegan version, substitute coconut creamy for heavy cream, almond milk for whole milk, and use a plant-based sweetener. You can also experiment with nut or oat milk for great, dairy-free alternatives that still maintain a rich flavor.
Conclusion about Coffee Ice Cream
In the world of frozen treats, nothing quite holds a candle to the delightful taste and smooth texture of Coffee Ice Cream. It’s not just an ordinary dessert; it’s a sensory experience that combines the best qualities of coffee and traditional ice cream. With an easy recipe at your fingertips, you can create this sweet treat in the comfort of your kitchen.
Furthermore, the ability to customize it to your liking adds to the appeal, making it perfect for every occasion. The next time you’re in the mood for something refreshing yet comforting, try making your own Coffee Ice Cream. You’ll savor the deep flavors, enjoy the creamy texture, and revel in the joys of a homemade dessert that brings everyone together.
FAQs about Coffee Ice Cream
Can I make Coffee Ice Cream without an ice cream maker?
Yes! You can pour the mixture into a shallow container and freeze it, stirring every 30 minutes for the first 2-3 hours to break up ice crystals.
How long does homemade Coffee Ice Cream last in the freezer?
Homemade Coffee Ice Cream can last for about 2-3 weeks in the freezer if stored properly in an airtight container.
Can I use decaffeinated coffee?
Absolutely! Using decaffeinated coffee will provide the same delicious flavors without the caffeine kick.
What can I serve with Coffee Ice Cream?
Coffee Ice Cream pairs well with chocolate sauce, fresh berries, or a drizzle of caramel. It also complements rich desserts like brownies or pie.
Can I make this recipe vegan?
Yes! Substitute the heavy cream with coconut cream and use plant-based milk and sweeteners for a vegan-friendly version.
What type of coffee is best for this recipe?
Strong brewed coffee or espresso works best to ensure a rich flavor. You can also experiment with flavored coffees for added twist.
How do I soften Coffee Ice Cream before serving?
Let it sit out at room temperature for about 10-15 minutes before scooping for easier serving.
Can I add mix-ins to my Coffee Ice Cream?
Absolutely! You can stir in chocolate chips, nuts, or even swirls of caramel or cookie crumbs during the last few minutes of churning.
Is it safe to eat homemade ice cream that has been stored for a while?
As long as it has been kept frozen at a safe temperature and shows no signs of spoilage, it’s generally safe to eat for a few weeks.
Can I make Coffee Ice Cream ahead of time?
Yes! In fact, making it a day or two in advance allows the flavors to meld beautifully, enhancing the overall taste.

Coffee Ice Cream
Ingrédients
Main Ingredients
- 2 cups heavy cream Can substitute with coconut cream for a dairy-free option.
- 1 cup whole milk Can substitute with almond milk for a dairy-free option.
- 1 cup granulated sugar Adjust to taste for a less sweet option.
- 1 tablespoon vanilla extract
- 1 cup strong brewed coffee, cooled Use espresso for a richer flavor.
- 1/2 cup coffee liqueur Optional; omit for a non-alcoholic version.
- 1 pinch salt
Instructions
Preparation
- Gather all your ingredients on a clean workspace.
- Start by whisking together heavy cream, whole milk, sugar, and a pinch of salt in a mixing bowl until the sugar is dissolved.
- Stir in the cooled brewed coffee and vanilla extract, and add the coffee liqueur if desired.
- Cover the bowl and refrigerate for at least 2 hours, or overnight for best results.
- Prepare the ice cream maker according to the manufacturer’s instructions.
Churning
- Pour the chilled mixture into the ice cream maker and churn for about 20-25 minutes until thick and creamy.
- Transfer the soft ice cream to a lidded container and add any desired mix-ins.
- Seal the container and freeze for at least 4 hours until firm.
Serving
- Scoop the coffee ice cream into bowls or cones and garnish as desired.