
Table of Contents
Introduction to DIY Ice Cream Bar
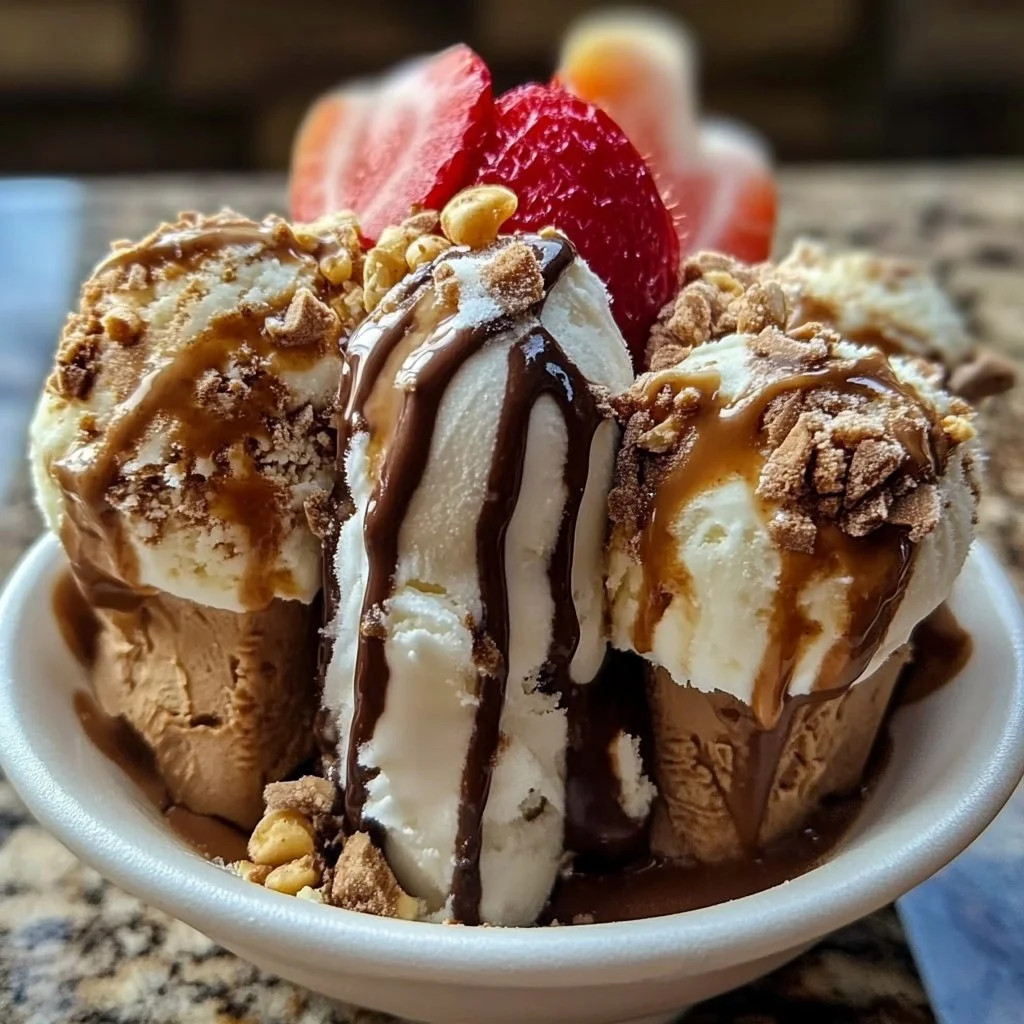
Is there anything better than a warm day paired with a cool, creamy, and delicious bowl of ice cream? The answer is a resounding no, especially when you can customize your sweet treat to your personal preference with a DIY Ice Cream Bar! This self-serve ice cream experience not only tantalizes the taste buds but also brings family and friends together for some delightful fun. Why settle for just vanilla when you can blend flavors, textures, and toppings until your heart’s content?
The essence of a DIY Ice Cream Bar lies in its flexibility. Maybe you’re a chocolate lover who can’t resist fudgy toppings, or perhaps you’re more of a fruity fan, excited to dig into strawberry swirls. The beauty of this homemade setup allows everyone to create something unique. What’s more, setting up a DIY Ice Cream Bar is incredibly easy. You simply need a few key ingredients, some creativity, and an adventurous spirit.
Think about the last time you gathered with friends or family, such as during birthdays, summer barbecues, or holiday gatherings. The mere thought of choosing your own ice cream flavors and toppings brings smiles to everyone’s faces. This recipe isn’t just about dessert; it’s an opportunity for connection and creativity.
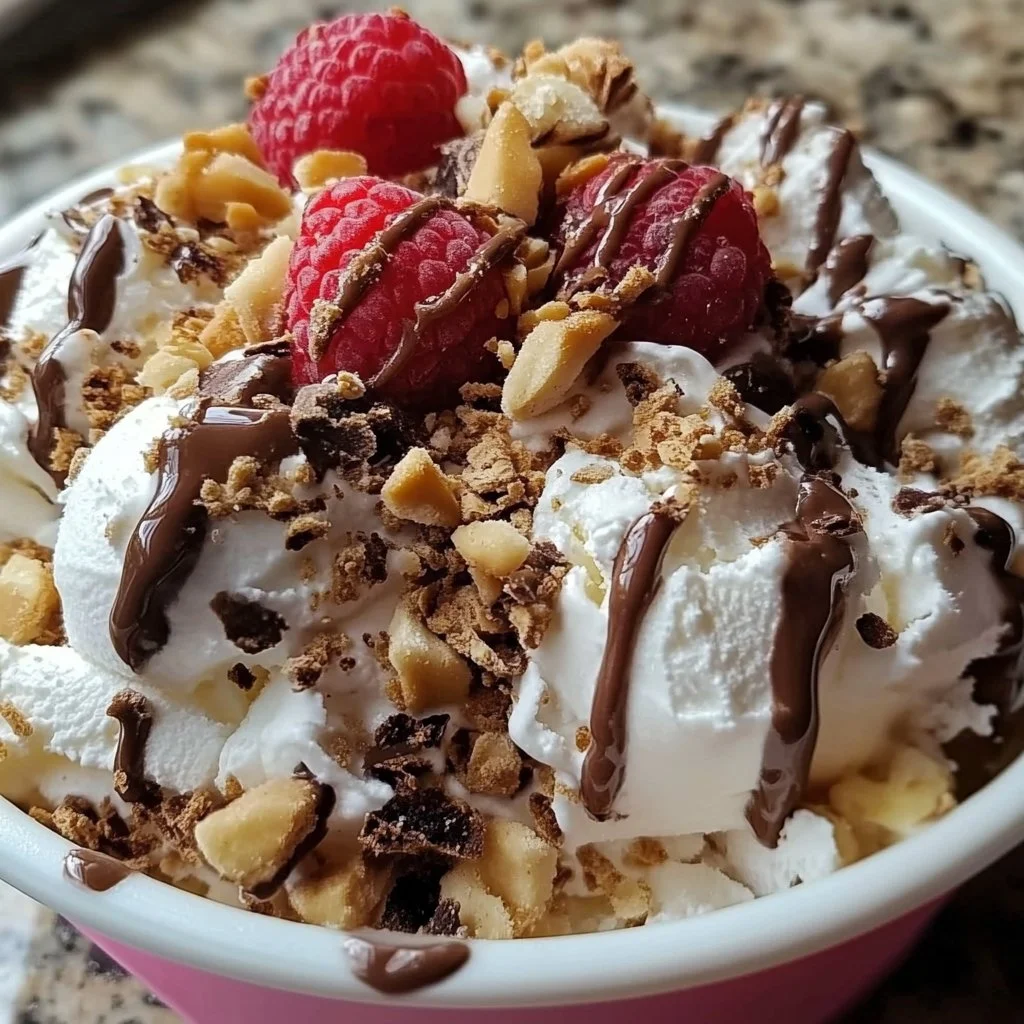
Once you set up your DIY Ice Cream Bar, the possibilities are endless! And the best part? You can personalize everything to meet any dietary restrictions or preferences, making it a truly inclusive experience. Dive into the world of flavors and textures, and let’s explore why DIY Ice Cream Bar is a must-have for your next gathering!
Key Benefits of DIY Ice Cream Bar
Why You’ll Love This Recipe
- Flavors Galore: Choose from an array of ice cream flavors to satisfy every palate.
- Custom Toppings: Decorate your sweet treat with various toppings for added joy.
- Social Experience: Bring people together and share a creative experience.
- Simple Set-Up: Requires minimal effort for maximum enjoyment.
- Dietary Flexibility: Easily accommodate various dietary needs with simple swaps.
- Fun for All Ages: Perfect for everyone, from kids to adults.
What Makes It Stand Out
A DIY Ice Cream Bar is not your average dessert option. Its unique, engaging format allows everyone to express their individuality. While traditional ice cream parlors limit choices, your DIY setup means there’s no limit to creativity. You can experiment with flavor combinations and toppings that best suit your mood.
Moreover, the experience itself is a blend of excitement and comfort. Whether it’s a relaxed summer gathering or a festive celebration, the DIY Ice Cream Bar fits seamlessly into any occasion. Plus, by customizing your ice cream, you get to enjoy flavors that aren’t always available in stores.
Ingredients for DIY Ice Cream Bar
Complete Ingredient List with Measurements
- Ice Cream Flavors:
- Vanilla ice cream, 1 quart
- Chocolate ice cream, 1 quart
- Strawberry ice cream, 1 quart
- Toppings:
- Sprinkles, 1 cup
- Nuts (chopped), 1 cup
- Chocolate syrup, 1 cup
- Caramel sauce, 1 cup
- Whipped cream, 2 cups
- Cherries, 1 cup
- Waffle Cones or Bowls:
- 12 cones or bowls
Substitutes and Alternatives
For those with allergies, you can easily modify the DIY Ice Cream Bar to fit dietary needs. Instead of traditional dairy ice creams, consider using almond milk or coconut milk-based ice creams for a dairy-free alternative. For those avoiding gluten, be sure to check that your toppings, such as sprinkles and cookies, are labeled gluten-free.
If someone in your group has a nut allergy, it’s simple to swap out nuts for something like crushed graham crackers or mini chocolate chips. This flexibility makes the DIY Ice Cream Bar enjoyable for everyone, ensuring no one feels left out.
How to Make DIY Ice Cream Bar – Step-by-Step Directions
Step 1 – Prepare Ingredients
Begin by gathering all your ingredients and setting them out on a large table or counter. Ensure you have enough bowls and spoons for the toppings. Organizing everything in advance will streamline the ice cream-making process and enhance the overall experience.
Step 2 – Set Up Ice Cream Station
Place the containers of ice cream in a cooler or on a table with ice packs. This will keep the ice cream firm while guests scoop their selections. You can use a variety of ice cream scoops for fun—make it easy for everyone to dig into their favorite flavors!
Step 3 – Arrange Topping Bowls
Set out each topping in separate bowls or containers, allowing guests to see all available options. Labels can be useful for guests to quickly identify toppings, especially for those with dietary restrictions.
Step 4 – Provide Waffle Cones or Bowls
Offer guests a choice between waffle cones and bowls. Having both options allows everyone to personalize their ice cream experience according to preference.
Step 5 – Personalize Your Ice Cream
Encourage guests to scoop their chosen flavors of ice cream into their selected cones or bowls. Add a generous scoop or mix two flavors for a creamy delight!
Step 6 – Top It Off
Let guests create their personalized masterpieces by adding their favorite toppings. This step is where individual creativity shines by mixing and matching flavors!
Step 7 – Serve and Enjoy
Once everyone has prepared their ice cream creations, it’s time to dig in! Eat together and enjoy the flavors you’ve crafted. It’s a wonderful way to share laughs and stories while enjoying sweet treats.
Step 8 – Clean Up
Once everyone has enjoyed their creations, make cleanup easy by using disposable cups and spoons for serving. Collect all empty toppings bowls and ice cream containers to streamline the process.
Step 9 – Offer Leftover Options
If there are leftovers, consider offering guests to take some ice cream or toppings home. This brings closure to the event with a sweet takeaway.
Serving Suggestions for DIY Ice Cream Bar
Best Occasions to Serve This Dish
The DIY Ice Cream Bar is perfect for various occasions, such as birthday parties, summer barbecues, and family reunions. It’s a great way to celebrate and make lasting memories with loved ones.
Another fantastic occasion for this setup is during holidays. A festive DIY Ice Cream Bar during Christmas or Fourth of July can add a unique twist to traditional desserts, allowing guests to indulge while adding a personal touch.
What to Serve With It
To elevate the DIY Ice Cream Bar experience, consider serving a variety of drinks, like flavored sodas, lemonade, or iced teas. These pair wonderfully with ice cream and keep guests refreshed. Additionally, serving a light fruit platter alongside can offer a healthy side option between scoops of ice cream.
How to Store DIY Ice Cream Bar Properly
Best Storage Practices
After your gathering, it’s essential to store leftover ice cream and toppings correctly. Keep any remaining ice cream in its original containers or in an airtight freezer-safe bag to prevent freezer burn. Ensure it’s sealed tightly to maintain its creamy texture.
For toppings, if you have leftovers, store them in individual airtight containers. Most toppings can last for a week or two if stored correctly.
Reheating and Freezing Tips
Ice cream typically doesn’t require reheating, but if your ice cream becomes too hard in the fridge, allow it to sit at room temperature for 5–10 minutes before serving. This softening period makes it easier to scoop and enjoy without ruining its texture.
Tips & Tricks for DIY Ice Cream Bar
Mistakes to Avoid
1 – Using too much ice cream in each scoop can lead to a messy experience as it melts quickly. Encourage guests to pace themselves and add just the right amount.
2 – Skipping the chilling step for the ice cream can lead to a soupy consistency. Always keep it on ice while guests serve themselves.
3 – Not labeling toppings can create confusion. Ensure everything is clearly marked for convenience.
4 – Forgetting about dietary restrictions can leave some guests without options. Be inclusive with your ingredient selections.
5 – Overlooking clean-up can make the end of the party chaotic. Have trash bins and recyclables readily available to facilitate an easy clean-up.
Extra Tips for Better Results
To enhance the flavors and textures, try serving homemade toppings such as flavored whipped cream or fruit sauce. You can also consider freeze-dried fruits or unique candy toppings for an unexpected flavor burst.
If you want to upgrade the experience, consider offering flavored ice cream mixers—such as peanut butter or fudge swirls—for even more options. This can take your DIY Ice Cream Bar to the next level!
Recipe Variations of DIY Ice Cream Bar
Creative Twists
1 – Cereal Toppings: Incorporate a selection of cereals like Frosted Flakes or Cocoa Pebbles for a crunchy twist on ice cream toppings.
2 – International Flavors: Explore global flavors—like mango or matcha ice cream—to add a fun culinary twist to your DIY Ice Cream Bar.
3 – Seasonal Themes: Tailor your ice cream flavors to the season. Pumpkin pie ice cream for fall or peppermint for winter can make the bar feel festive and seasonal.
Dietary Adjustments
To make a DIY Ice Cream Bar vegan-friendly, opt for plant-based ice creams made from coconut or almond milk. Use dairy-free toppings and whipped creams to accommodate those who are lactose intolerant.
For gluten-free guests, ensure all toppings and cones are certified gluten-free. This thoughtful adjustment shows you care about everyone enjoying the experience.
Conclusion about DIY Ice Cream Bar
The DIY Ice Cream Bar is an unbeatable way to spark joy and creativity among friends and family. It transforms a simple dessert into an interactive extravaganza full of flavor and fun. This easy-to-set-up recipe caters to all tastes, dietary needs, and occasions, making it a versatile centerpiece for any gathering. Whether you’re hosting a birthday party, celebrating a holiday, or just wanting to indulge after a long day, DIY Ice Cream Bars will satisfy every sweet craving. So, gather your friends, unleash your creativity, and dive into a world of ice cream bliss!
FAQs about DIY Ice Cream Bar
How long can I keep leftover ice cream?
Ice cream can be stored in the freezer for up to two months. Ensure it’s sealed tightly to maintain flavor and texture.
Can I make the ice cream ahead of time?
Absolutely! Ice cream can be made days or weeks in advance. Just keep it stored properly in the freezer until you’re ready to serve.
What are the best toppings for kids?
Kids generally love sprinkles, whipped cream, and fruit toppings. Consider including colorful candies or chocolate chips for an extra treat.
Can I use pre-packaged ice cream?
Yes, using store-bought ice cream saves time. However, homemade options can offer better freshness and flavor.
What’s the best way to serve large groups?
A buffet-style setup works well for large groups. Ensure ample space and provide enough scoops and bowls for quick service.
How do I prevent ice cream from freezing too hard?
To keep ice cream soft, store it at the back of the freezer, away from the cooling elements. Always let it sit for a few minutes before serving.
Are there vegan ice cream options?
Yes, many stores offer vegan ice cream made from coconut, almond, or cashew milk, making it suitable for various diets.
Should I use cones or bowls? Which is better?
Both options work well! Cones offer a fun, portable experience, while bowls might be easier for decorating and layering toppings.
Can I make my own toppings?
Absolutely! Homemade fruit sauces or flavored whipped creams can elevate your DIY Ice Cream Bar and provide a personal touch.

DIY Ice Cream Bar
Ingrédients
Ice Cream Flavors
- 1 quart Vanilla ice cream
- 1 quart Chocolate ice cream
- 1 quart Strawberry ice cream
Toppings
- 1 cup Sprinkles
- 1 cup Chopped nuts Substitute with crushed graham crackers for nut allergies.
- 1 cup Chocolate syrup
- 1 cup Caramel sauce
- 2 cups Whipped cream Consider dairy-free options.
- 1 cup Cherries
Waffle Cones or Bowls
- 12 pieces Waffle cones or bowls
Instructions
Preparation
- Gather all your ingredients and set them out on a large table or counter.
- Place the ice cream containers in a cooler or on a table with ice packs to keep them firm.
- Set out each topping in separate bowls or containers.
- Offer guests a choice between waffle cones and bowls.
Serving
- Encourage guests to scoop their chosen flavors of ice cream into their selected cones or bowls.
- Let guests add their favorite toppings to create personalized masterpieces.
- Enjoy the ice cream creations together and share stories while indulging.
Clean Up
- Use disposable cups and spoons for easy serving and cleanup.
- Collect all empty topping bowls and ice cream containers to streamline the cleanup process.