
Table of Contents
Introduction to Homemade Gum
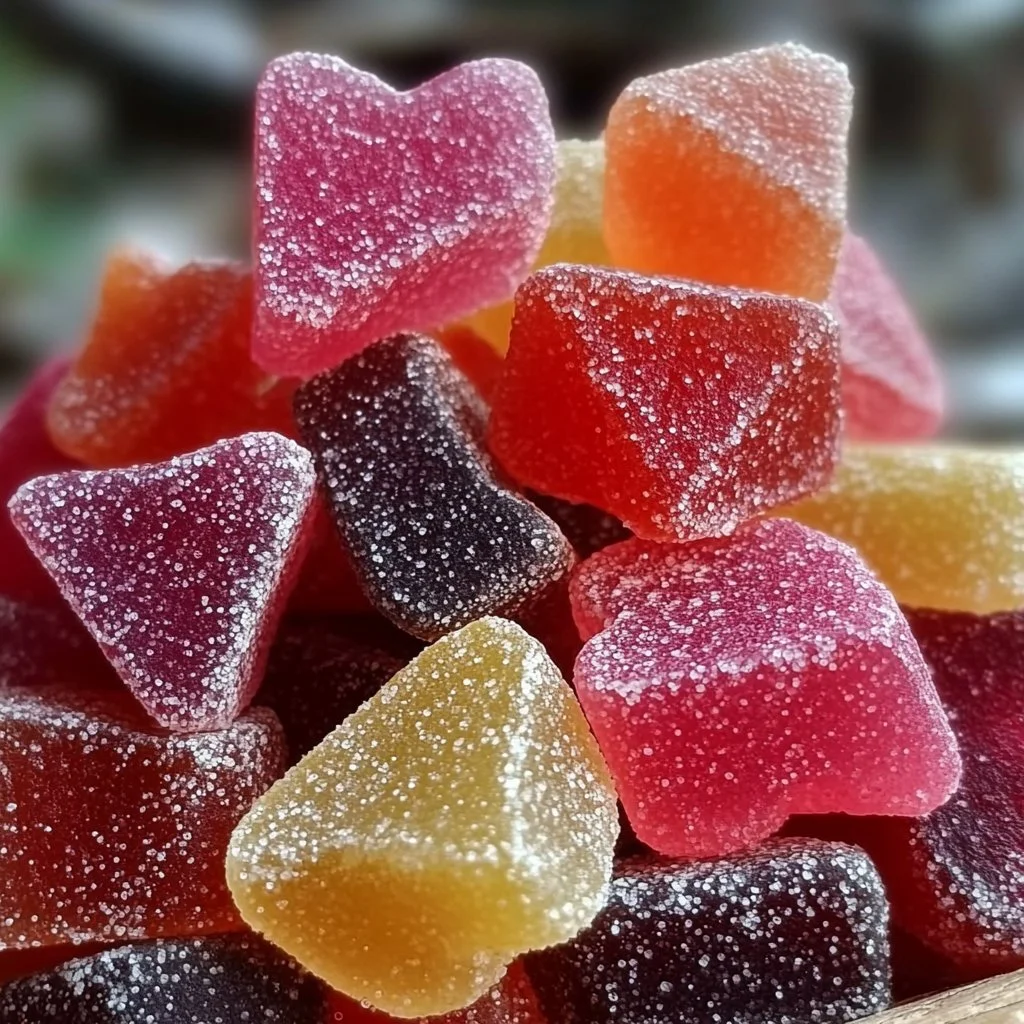
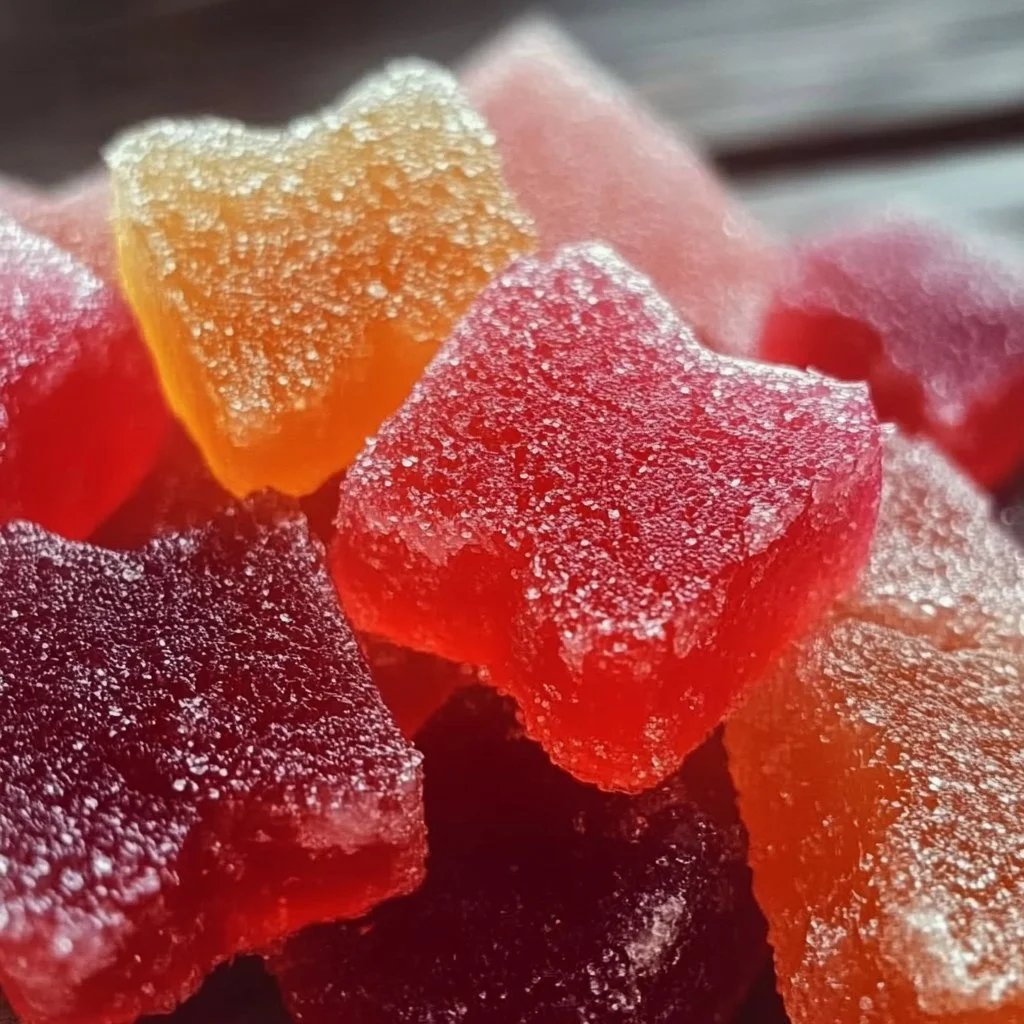
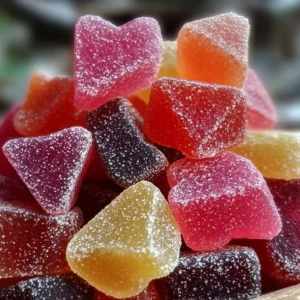
Have you ever found yourself craving a delicious and unique treat that you can easily make at home? Look no further than Homemade Gum! This delightful recipe allows you to create a flavorful and chewy candy that is not only fun to make but also customizable to suit your taste preferences. Imagine the satisfaction of pulling out a piece of your own homemade confection whenever you want a sweet treat!
Making your own gum offers a world of creativity. You can experiment with different flavors, colors, and shapes, turning simple ingredients into a delightful masterpiece. Plus, Homemade Gum is a wonderful project to engage kids in the kitchen while teaching them about cooking and creativity. What makes this recipe even more appealing is its simplicity. With just a few ingredients that you likely already have at home, you can whip up a batch in no time.
The best part? You know exactly what goes into your Homemade Gum. No unnecessary additives or preservatives, just pure, delightful flavor tailored to your liking. Whether you enjoy a classic mint flavor or want to experiment with fruity notes, Homemade Gum is a fantastic way to explore your taste buds. So, let’s dive into this scrumptious adventure and discover just how easy it is to create your very own gum!
Key Benefits of Homemade Gum
Why You’ll Love This Recipe
- Flavor Flexibility: Choose your favorite flavors to create a gum that’s truly yours.
- Simplicity: With just a handful of ingredients, it’s easy to whip up.
- Customization: Add food coloring and different shapes to personalize each piece.
- Fun Activity: Perfect for involving friends or family in a creative kitchen project.
- Additive-Free: Enjoy knowing exactly what’s in your snack, with no artificial additives.
- Gift-Worthy: Packaged creatively, Homemade Gum makes for a charming gift.
What Makes It Stand Out
This Homemade Gum recipe stands out because it allows for incredible originality. You get to decide how chewy or firm you want your gum, and the flavor profiles can vary dramatically with different essential oils or flavorings. It’s not just a candy, but a canvas for your culinary creativity.
Moreover, Homemade Gum is perfect for a variety of occasions. Whether you’re preparing for a birthday party, a holiday gathering, or simply a quiet night in with the family, it adds a personal touch. It’s also an excellent icebreaker at social events where everyone can enjoy and share their unique flavors.
Ingredients for Homemade Gum
Complete Ingredient List with Measurements
- 2 cups powdered sugar
- 1/2 cup corn syrup
- 1/4 cup gum base
- Flavoring of choice (mint, fruit, vanilla, etc.)
- Food coloring (optional)
Substitutes and Alternatives
If you’re dealing with dietary restrictions or allergies, don’t worry! There are plenty of substitutes available. For instance, if you prefer a sugar-free option, look for sugar substitutes that can mimic the sweetness of powdered sugar. Additionally, agave syrup can work as a great alternative to corn syrup if you are avoiding processed sugars.
For the gum base, there are vegetarian options available if you want a vegan alternative. Ensure that you choose flavorings and food colorings that align with your dietary needs. Overall, the beauty of homemade is that you can adapt it to fit your lifestyle!
How to Make Homemade Gum – Step-by-Step Directions
Step 1 – Prepare Ingredients
Begin by measuring out all your ingredients. This preparation will make the process smoother. Gather your powdered sugar, corn syrup, gum base, flavoring, and food coloring in a designated workspace.
Step 2 – Cook the Base
In a mixing bowl, combine the gum base and corn syrup. Mix thoroughly until the components are well blended. You want the mixture to start feeling sticky and cohesive. This part sets the foundation for your gum’s chewiness.
Step 3 – Add Powdered Sugar
Gradually incorporate the powdered sugar into the mixture. Start with a small amount and mix well. Repeat this process until the mixture no longer sticks to your hands or the bowl. You’ll know it’s ready when it’s pliable and soft yet not sticky.
Step 4 – Knead the Mixture
Transfer the gum mixture onto a clean countertop or cutting board. Knead the dough-like gum for about 5 minutes. This step is essential for developing the perfect texture. It should become smooth and elastic.
Step 5 – Flavor and Color Your Gum
Once the gum is well-kneaded, it’s time to add your flavoring. Whether you prefer a minty or fruity burst, add your essential oils or extracts. If you decide to use food coloring, this is also the moment to incorporate it. Knead again until fully integrated.
Step 6 – Shape Your Gum
Now comes the fun part! Roll out the gum mixture to your desired thickness. You can use cookie cutters to cut out fun shapes or simply roll it into small balls or sticks. The possibilities are endless, and it’s completely up to your imagination.
Step 7 – Let it Set
After shaping the gum, let it sit at room temperature for a few hours. This time allows the gum to firm up and develop its perfect chewiness. The waiting game pays off!
Step 8 – Enjoy or Package
Once your Homemade Gum has set, it’s ready to be enjoyed! You can munch on it yourself or package it beautifully as a thoughtful gift for friends and family.
Serving Suggestions for Homemade Gum
Best Occasions to Serve This Dish
Homemade Gum is a delightful treat for a variety of occasions. It can be a centerpiece for a kids’ party, where guests can munch on their colorful creations. Additionally, it works wonderfully as a party favor. Gift bags filled with personalized pieces of gum will be cherished by attendees.
For family gatherings or casual get-togethers, having a bowl of Homemade Gum on hand can spark conversations. People love trying out different flavors and reminiscing about their childhood gum experiences.
What to Serve With It
Homemade Gum can be complemented with a variety of snacks and drinks. Consider pairing it with light refreshments like sparkling water or lemonade for a refreshing twist. If you’re hosting a party, it can be a unique addition to a candy buffet.
For those preparing a gift package, consider including a small note or tag with flavor descriptions along with complementary treats like chocolates or candies. The options are endless!
How to Store Homemade Gum Properly
Best Storage Practices
To maintain the freshness of your Homemade Gum, store it in an airtight container. If you live in a humid environment, consider adding a silica gel packet to absorb moisture. The gum should remain fresh for several weeks when properly stored.
You can store it at room temperature, but for extended freshness, keeping it in the refrigerator can help preserve the texture and flavor. Just be sure to bring it to room temperature before serving for optimum chew quality.
Reheating and Freezing Tips
Homemade Gum is best enjoyed fresh, but if you want to make a large batch, you can freeze it. Wrap pieces in wax paper and place them in a freezer bag. When you’re ready to enjoy them, simply allow them to thaw at room temperature.
Reheating isn’t necessary, but if the gum softens too much, a few seconds in the refrigerator can help reestablish its original consistency. Just avoid putting it in the microwave, as gum doesn’t react well to heat.
Tips & Tricks for Homemade Gum
Mistakes to Avoid
- Not Measuring Correctly: Accuracy is vital. Too much or too little sugar can ruin the texture.
- Skipping the Kneading Step: Proper kneading is crucial for texture; don’t skip it!
- Using Low-Quality Ingredients: Quality matters! Use good flavorings and gum base for the best results.
- Not Allowing it to Set: Patience is key; give the gum the time it needs to firm up.
- Ignoring Storage Tips: Improper storage can lead to soggy or dried-out gum.
Extra Tips for Better Results
- Experiment with multiple flavors by dividing the gum into portions before adding flavorings.
- Try different shapes and sizes to make the gum more visually appealing.
- Consider a mix of textures by adding crushed nuts or other ingredients for crunch.
Recipe Variations of Homemade Gum
Creative Twists
- Fruity Explosion: Combine different fruit flavorings to create a tropical blend. Think strawberry, pineapple, and mango to delight your taste buds.
- Holiday Spice: Add cinnamon or nutmeg for a festive twist, making your gum perfect for holiday gatherings.
- Cocoa Delight: Incorporate cocoa powder for a rich chocolate flavor, mixed with mint for an indulgent experience.
Dietary Adjustments
If you’re looking for a vegan version, opt for plant-based gum bases available online or at specialty stores. You can also substitute traditional sugar with coconut sugar or date syrup for a healthier alternative. Always verify that flavorings and colorings are free from animal products.
Conclusion about Homemade Gum
In conclusion, making Homemade Gum is not only a fun and engaging activity, but it’s also a rewarding way to satisfy your sweet tooth. With its endless flavor possibilities and the ability to customize every aspect of the recipe, you’ll find that it’s truly an art form. The joy of sharing your gum with others or gifting it to friends will surely bring smiles to everyone involved.
You’ll appreciate the convenience of making something that is typically bought, all while loading it with the flavors you love. Trying your hand at Homemade Gum is an experience worth having, whether for yourself or to create memorable moments with loved ones. So gather your ingredients, unleash your creativity, and dive into the delightful world of Homemade Gum!
FAQs about Homemade Gum
How long can I store Homemade Gum?
When stored in an airtight container, Homemade Gum can last for several weeks at room temperature, or longer if refrigerated.
Can I use different flavors in Homemade Gum?
Absolutely! You can customize your Homemade Gum by adding any flavoring you like, such as mint, fruit extracts, or even baking spices for a unique twist.
Can I freeze Homemade Gum?
Yes, Homemade Gum can be wrapped in wax paper and frozen. Just allow it to thaw at room temperature before enjoying.
Is Homemade Guum safe for kids?
Definitely! As long as you use child-friendly ingredients, Homemade Guum is a fun treat for kids to enjoy, especially when they help make it.
What if my Homemade Guum is too sticky?
If your gum mixture is too sticky, gradually add more powdered sugar until the desired consistency is achieved.
What ingredients are necessary for making Homemade Gum?
You’ll need gum base, corn syrup, powdered sugar, and your choice of flavoring and food coloring to make Homemade Gum.
Is it possible to make sugar-free Homemade Guum?
Yes, you can make sugar-free gum using sugar substitutes for the powdered sugar; just ensure they are suitable for your desired taste.
Can I make Homemade Guum without gum base?
Gum base is necessary for the proper texture. Without it, the gum may not have the right chewiness.
Can I add extra ingredients like candy pieces or nuts?
While you can add extras like crushed candy or nuts for texture, be mindful of how they may affect the gum’s consistency.
How do I know when my Homemade Gum is ready?
Your Homemade Gum is ready when it reaches a smooth, elastic consistency that is no longer sticky after kneading properly.
Homemade Gum
Ingrédients
Base Ingredients
- 2 cups powdered sugar
- 1/2 cup corn syrup You can substitute with agave syrup.
- 1/4 cup gum base Look for vegetarian options for a vegan alternative.
Flavoring and Color
- to taste Flavoring of choice (mint, fruit, vanilla, etc.) Feel free to experiment with different flavors.
- optional Food coloring Use to customize the look of your gum.
Instructions
Preparation
- Measure out all ingredients and gather them in a designated workspace.
Mixing the Base
- In a mixing bowl, combine the gum base and corn syrup. Mix thoroughly until well blended.
Combine Ingredients
- Gradually incorporate powdered sugar into the mixture, mixing well until it no longer sticks.
Kneading
- Transfer the mixture to a clean surface and knead for about 5 minutes until smooth and elastic.
Flavoring and Coloring
- Add flavoring and food coloring to the kneaded gum, mixing until fully integrated.
Shaping the Gum
- Roll out the gum to desired thickness and cut into shapes or roll into balls or sticks.
Setting
- Allow the shaped gum to set at room temperature for a few hours.
Enjoying
- Enjoy your homemade gum or package it as a gift.