
Table of Contents
Introduction to Retro Christmas Gumdrop Cookies
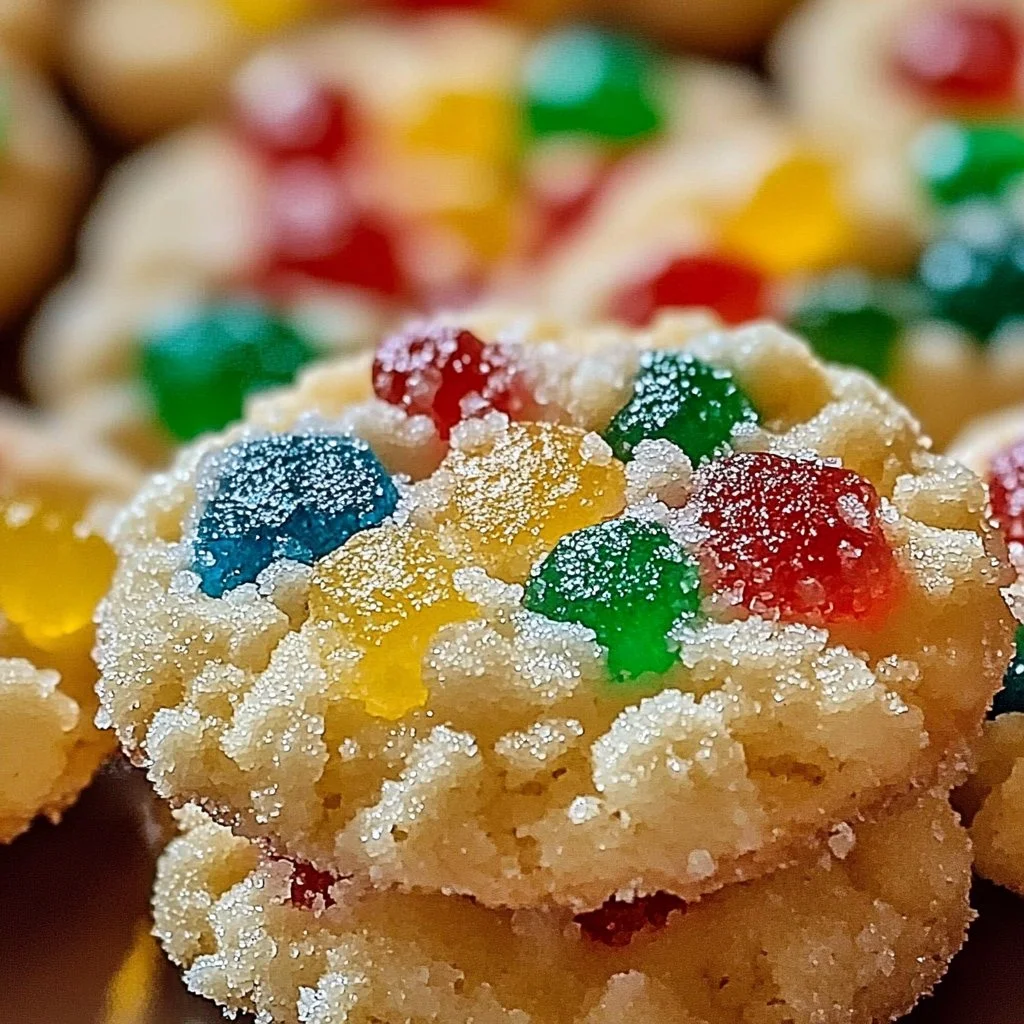
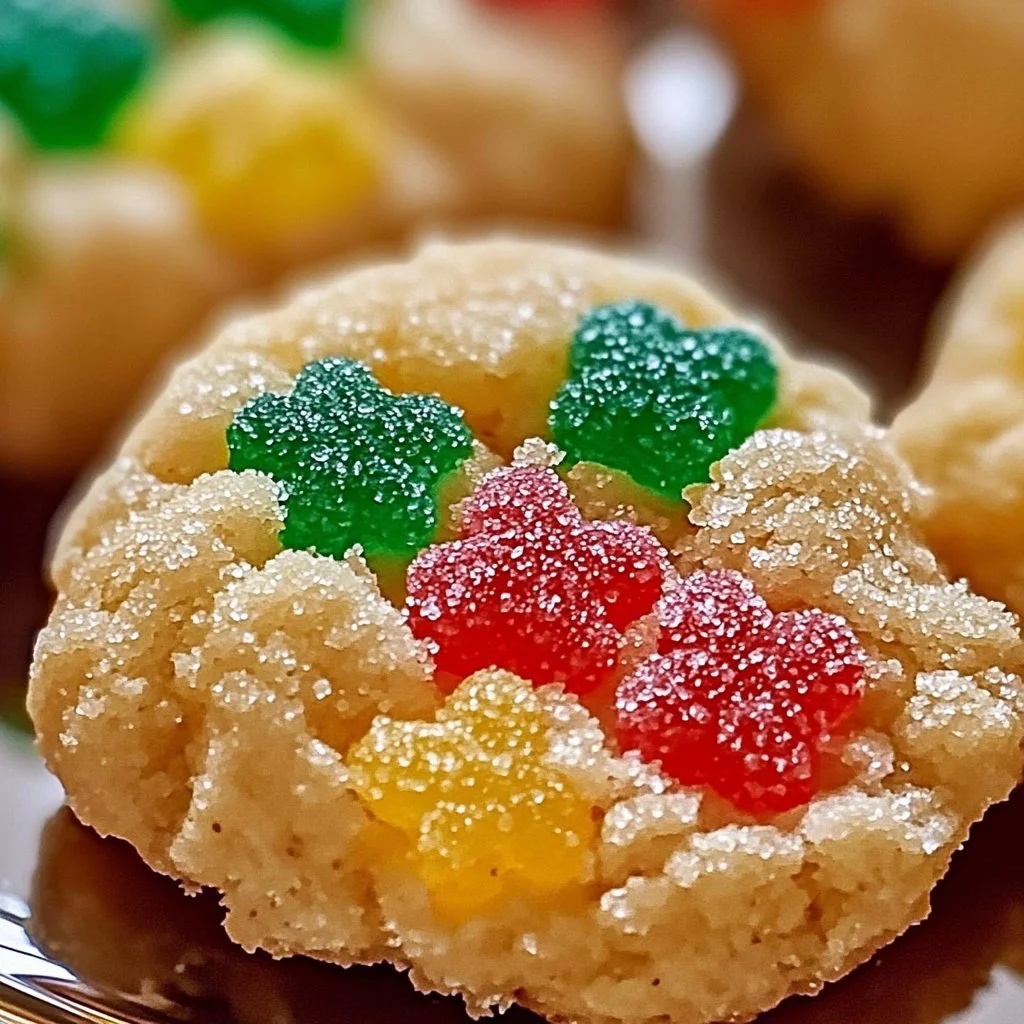
The holiday season is a time for celebration, joy, and of course, delicious treats. One cookie that consistently brings warmth and nostalgia to festive gatherings is the Retro Christmas Gumdrop Cookies. Have you ever craved something sweet that also brings back fond memories from childhood? This recipe offers that perfect blend, wrapping you in a blanket of delightful flavors and cozy aromas.
What makes Retro Christmas Gumdrop Cookies so enjoyable? For starters, the gumdrops add vibrant pops of color and sweetness that truly transform these cookies into a holiday spectacle. Beyond their eye-catching appearance, the chewy texture of gumdrops works harmoniously with the softness of the cookie base. Each bite is a delightful surprise, filled with unexpected bursts of flavor.
Another key feature is the simplicity of this recipe. You don’t need to be an experienced baker to impress your friends and family with these cookies. This recipe is straightforward and forgiving, making it the perfect choice for both novice and experienced bakers alike. With effortless steps, you can whip up a batch in no time, leaving you with more moments to cherish with loved ones.
Furthermore, the flexibility of Retro Christmas Gumdrop Cookies makes them a standout choice for holiday gatherings. This cookie recipe invites creativity, encouraging you to adapt it based on your tastes and preferences. Whether you prefer colorful gumdrops or are partial to nuts, this recipe allows you to make these cookies uniquely yours.
In a season filled with cookies and sweets, Retro Christmas Gumdrop Cookies hold a special place in the hearts of many. They remind us of the joy of baking with family, the warmth of freshly baked goods, and the happiness that cookies can bring. So roll up your sleeves, gather your ingredients, and let’s create some magical memories with Retro Christmas Gumdrop Cookies!
Key Benefits of Retro Christmas Gumdrop Cookies
Why You’ll Love This Recipe
- The vibrant colors of gumdrops add a festive flair to every cookie.
- Easy-to-follow steps make this recipe accessible for all skill levels.
- Delightful chewy texture from gumdrops enhances the overall experience.
- The option to add nuts makes it customizable based on your taste.
- Perfect for holiday parties, gifting, or enjoying at home with family.
- Great for making ahead of time and freezing for future enjoyment.
What Makes It Stand Out
Retro Christmas Gumdrop Cookies are a delightful twist on traditional cookie recipes, allowing for personal customization. The gumdrop element brings a nostalgic touch, invoking memories of old-fashioned holiday treats. Each cookie can be unique based on choices of gumdrop colors or types of nuts, making every batch a reflection of your personality and creativity. Plus, they’re ideal for various occasions, from Christmas celebrations to cozy winter gatherings.
Ingredients for Retro Christmas Gumdrop Cookies
Complete Ingredient List with Measurements
- 1 cup butter, softened
- 1 cup granulated sugar
- 1 cup brown sugar, packed
- 2 large eggs
- 1 teaspoon vanilla extract
- 3 cups all-purpose flour
- 1 teaspoon baking soda
- 1/2 teaspoon salt
- 2 cups colorful gumdrops, chopped
- 1 cup chopped nuts (optional)
Substitutes and Alternatives
If you have dietary restrictions or preferences, there are several swaps you can consider. For a dairy-free version, use plant-based butter as a substitute for the regular butter. You can also choose to replace the eggs with flaxseed meal mixed with water (1 tablespoon of flaxseed meal + 2.5 tablespoons of water = 1 egg) to create a vegan version. If gluten-free is your aim, use a gluten-free all-purpose flour blend to maintain texture while enjoying these delightful cookies.
How to Make Retro Christmas Gumdrop Cookies – Step-by-Step Directions
Step 1 – Prepare Ingredients
Start by gathering all the ingredients listed above. Make sure your butter is softened at room temperature for optimal creaming with sugars. Preheat your oven to 350°F (175°C) so it’s hot and ready when you’re done mixing.
Step 2 – Cook the Base
In a large mixing bowl, cream together the softened butter, granulated sugar, and brown sugar. Mix until the mixture is light and fluffy, which typically takes about 2-3 minutes on medium speed. This process incorporates air into the dough, resulting in a beautifully soft cookie texture.
Step 3 – Add Eggs and Vanilla
Next, add the eggs one at a time, ensuring each is thoroughly incorporated before adding the next. Then, pour in the vanilla extract and blend until smooth. The addition of vanilla enhances the flavor, making your cookies taste that much better.
Step 4 – Prepare Dry Ingredients
In a separate bowl, whisk together the all-purpose flour, baking soda, and salt. This step ensures even distribution of the leavening agent (baking soda) and salt into the flour.
Step 5 – Combine Wet and Dry Ingredients
Gradually incorporate the dry mixture into the wet ingredients. Use a spatula or wooden spoon to mix until just combined, ensuring you do not overmix. The dough should remain slightly sticky but well-formed.
Step 6 – Fold in Gumdrops and Nuts
Once the dough is prepared, gently fold the chopped gumdrops and nuts (if using) into the mixture. This addition injects vibrant colors and crunchy textures into the cookie dough, making every bite an adventure.
Step 7 – Portion the Dough
Using a spoon or cookie scoop, drop spoonfuls of dough onto a parchment-lined baking sheet. Be sure to leave enough space between each cookie to allow for spreading while baking.
Step 8 – Bake to Perfection
Place the baking sheet in the preheated oven and bake for 10-12 minutes. The cookies should have lightly golden edges while maintaining a soft center. Keep a close watch to ensure they don’t overbake; they continue to firm up after cooling.
Step 9 – Cool Before Serving
After baking, let the cookies cool on the baking sheet for about 5 minutes. This resting period allows them to set before carefully transferring them to a wire rack to cool completely.
Serving Suggestions for Retro Christmas Gumdrop Cookies
Best Occasions to Serve This Dish
Retro Christmas Gumdrop Cookies are perfect for various occasions, especially during the holiday season. They’re great for cookie exchanges, festive parties, or as sweet treats for family gatherings. You can easily brighten up any holiday table with these cheerful cookies, making them a memorable addition to seasonal festivities.
What to Serve With It
Pair these cookies with a hot cup of cocoa, eggnog, or warm mulled cider for a delicious complement. For a more casual setting, enjoy them alongside your favorite ice cream. They can also serve as delightful snacks in holiday gift boxes to impress your friends and family.
How to Store Retro Christmas Gumdrop Cookies Properly
Best Storage Practices
To ensure your Retro Christmas Gumdrop Cookies stay fresh, store them in an airtight container at room temperature. They can typically last for up to a week. If you prefer to keep them longer, consider freezing them. Freeze the cookies in layers between parchment paper in a sealed container to prevent sticking.
Reheating and Freezing Tips
If you’ve frozen your cookies, thaw them overnight in the refrigerator before enjoying. For a fresh-baked taste, you can reheat them in a 350°F (175°C) oven for about 5 minutes. This simple step can revive their soft and chewy texture, making them as delightful as when they first came out of the oven.
Tips & Tricks for Retro Christmas Gumdrop Cookies
Mistakes to Avoid
- Overmixing the dough can lead to tough cookies; mix just until combined.
- Using cold butter will make it hard to cream with sugars properly; ensure it’s softened.
- Altering baking times without monitoring may result in either burnt or underbaked cookies.
- Not spacing cookies enough on the baking sheet can result in them spreading into each other.
Extra Tips for Better Results
For a flavor boost, you can add spices like cinnamon or nutmeg to the dry ingredients. Experiment with different types of gumdrops or even candy canes for an extra crunch. Using a cookie scoop ensures uniformity in size, leading to consistent baking results.
Recipe Variations of Retro Christmas Gumdrop Cookies
Creative Twists
- Chocolate Chip Combos: Substitute some gumdrops with chocolate chips for an extra layer of indulgence.
- Fruity Fun: Use dried fruits like cranberries or raisins in addition to gumdrops for a fruity burst.
- Nutty Delight: Try different nuts, such as pecans or almonds, to modify the crunch and taste.
Dietary Adjustments
For a vegan version, substitute the butter with plant-based alternatives and replace eggs with flaxseed as mentioned earlier. For a gluten-free rendition, ensure you use a certified gluten-free flour blend that substitutes all-purpose flour effectively.
Conclusion about Retro Christmas Gumdrop Cookies
Retro Christmas Gumdrop Cookies bring both nostalgia and joy to the holiday season, making them a beloved treat for many. Their vibrant colors and delightful flavors make them not just a tasty cookie, but also a festive centerpiece. They’re simple to prepare, offering delightful moments in the kitchen while producing amazing aromas that fill your home. Whether shared with loved ones, presented at holiday gatherings, or enjoyed as a quiet moment with a cup of tea, these cookies add warmth to any occasion. Make some this holiday season, and let every bite take you back to joyful memories while creating new ones.
FAQs about Retro Christmas Gumdrop Cookies
How can I store leftover cookies?
Store leftover Retro Christmas Gumdrop Cookies in an airtight container at room temperature for up to one week. You can also freeze them for longer preservation.
Can I freeze cooked cookies?
Yes, Retro Christmas Gumdrop Cookies freeze well. Place the cooled cookies in layers between parchment paper and store them in an airtight container in the freezer.
How do I reheat frozen cookies?
To reheat, thaw the cookies overnight in the refrigerator, then warm them in a preheated oven at 350°F (175°C) for about 5 minutes for freshness.
Can I use different types of gumdrops?
Absolutely! Feel free to mix and match gumdrop flavors and colors based on your preference for a unique flavor experience.
What can I use instead of eggs?
You can replace each egg with a mixture of 1 tablespoon of flaxseed meal and 2.5 tablespoons of water for a vegan substitute.
How long do the cookies last?
When stored properly, Retro Christmas Gumdrop Cookies can last up to a week at room temperature and up to three months in the freezer.
Is there a gluten-free version of this recipe?
Yes, you can use a gluten-free all-purpose flour blend to make a gluten-free version of Retro Christmas Gumdrop Cookies.
Can I add chocolate chips to the recipe?
Definitely! You can replace some of the gumdrops with chocolate chips to create a delightful mix of flavors in the cookies.
How do I make cookies chewier?
For chewier cookies, slightly underbake them and allow them to cool on the baking sheet for longer before transferring to a wire rack.

Retro Christmas Gumdrop Cookies
Ingrédients
For the cookie base
- 1 cup butter, softened Use regular or plant-based butter for a dairy-free version.
- 1 cup granulated sugar
- 1 cup brown sugar, packed
- 2 large eggs Can substitute with a flaxseed mixture for a vegan version.
- 1 teaspoon vanilla extract
- 3 cups all-purpose flour Gluten-free flour can be used as a substitute.
- 1 teaspoon baking soda
- 1/2 teaspoon salt
For mix-ins
- 2 cups colorful gumdrops, chopped
- 1 cup chopped nuts (optional) Use your preferred nuts for added crunch.
Instructions
Preparation
- Gather all ingredients and preheat your oven to 350°F (175°C).
- In a large mixing bowl, cream together the softened butter, granulated sugar, and brown sugar until light and fluffy, about 2-3 minutes.
- Add eggs one at a time, blending until fully incorporated, then mix in the vanilla extract.
- In a separate bowl, whisk together flour, baking soda, and salt.
- Gradually mix the dry ingredients into the wet mixture until just combined, avoiding overmixing.
- Gently fold in the chopped gumdrops and nuts until evenly distributed.
Baking
- Drop spoonfuls of dough onto a parchment-lined baking sheet, spacing them apart.
- Bake for 10-12 minutes or until lightly golden on the edges, ensuring they have a soft center.
- Let cookies cool on the baking sheet for about 5 minutes before transferring to a wire rack to cool completely.