
Table of Contents
Introduction to Irresistible Valentine Cake Popsicles
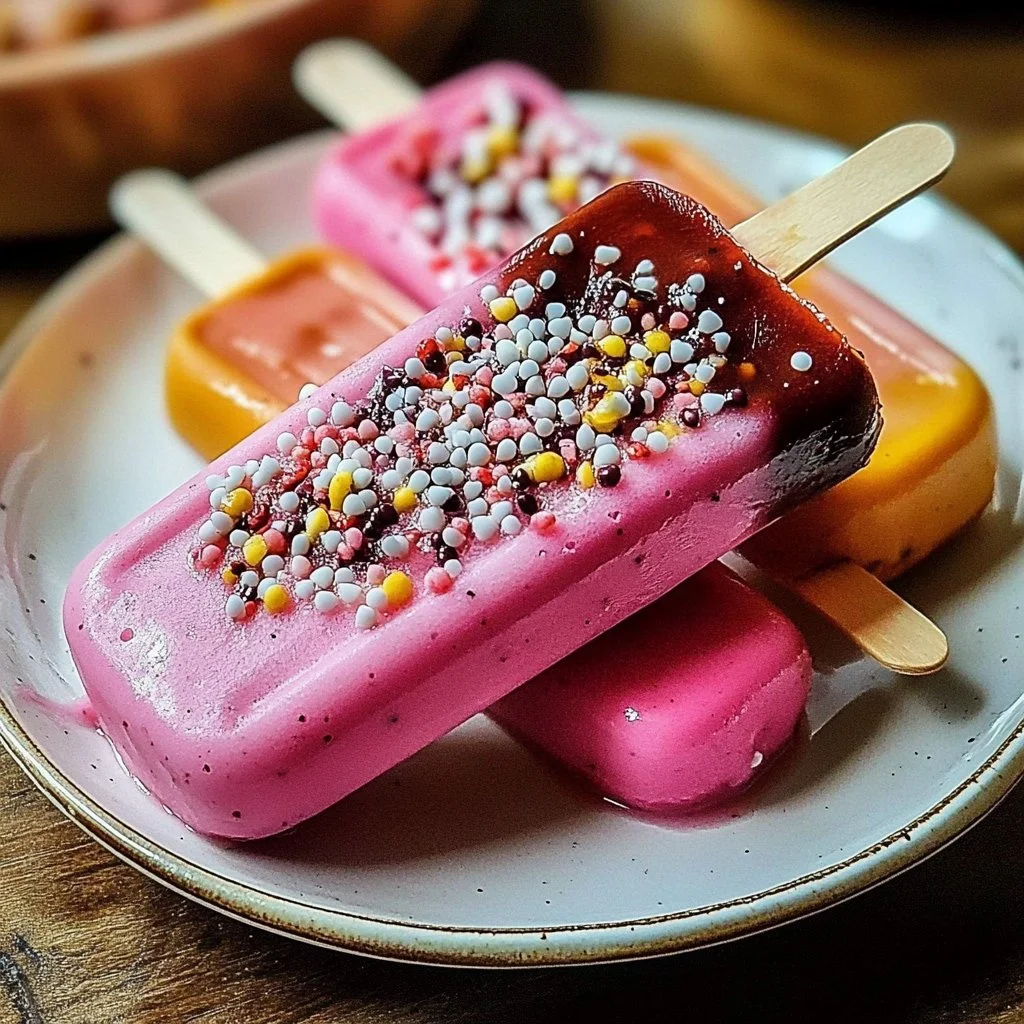
Valentine’s Day is a time for love, romance, and, of course, indulgent treats. Have you ever wondered how to make that special day even sweeter? Imagine delighting your loved ones with homemade Irresistible Valentine Cake Popsicles, a delightful twist on traditional cake pops that combines flavors of your favorite cakes with a fun, icy treat. These adorable popsicles not only satisfy your sweet tooth but also bring a hint of creativity to your dessert table.
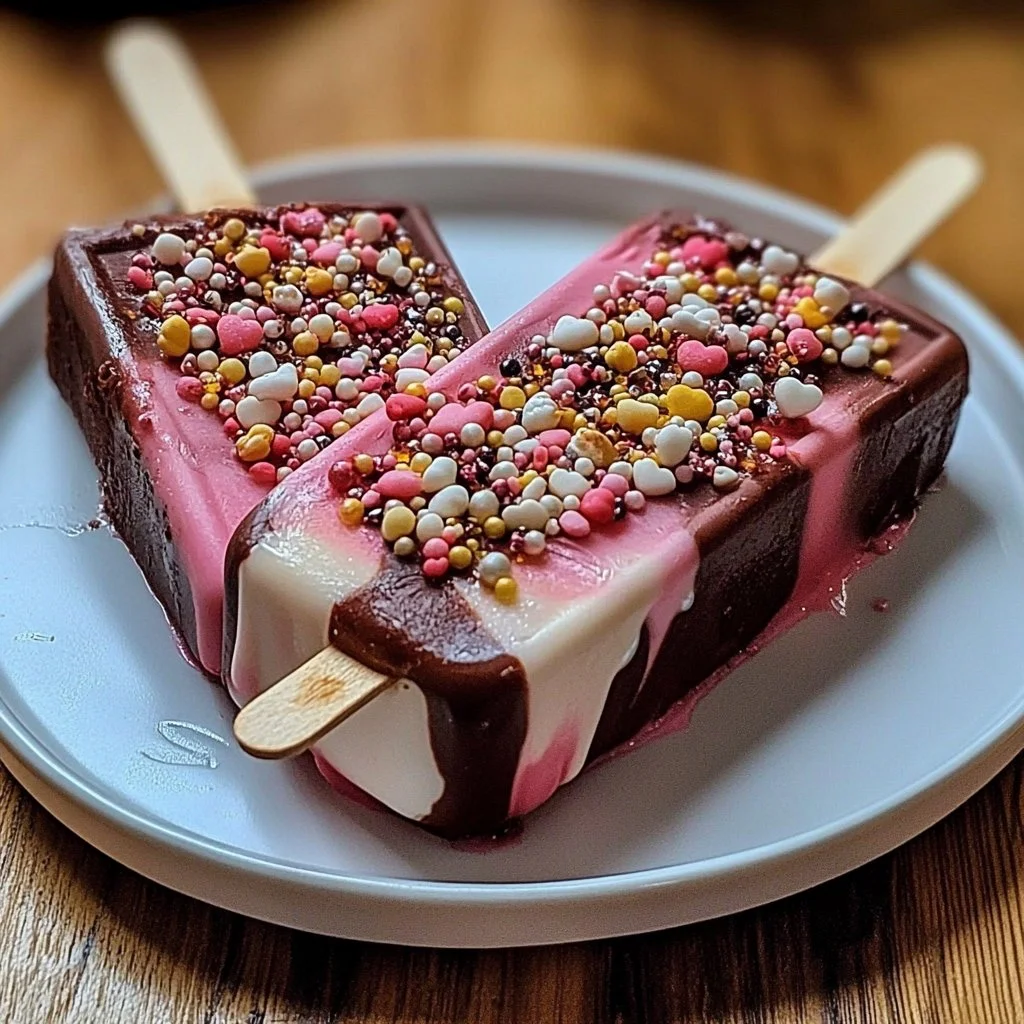
What makes these Irresistible Valentine Cake Popsicles stand out is their ease of preparation. With a handful of simple ingredients, you can whip up a batch in no time. The rich, moist cake blended with creamy frosting creates a delicious base. When coated in colorful candy melts or chocolate and embellished with vibrant sprinkles, they become a feast for the eyes as well as the taste buds. Each bite is sure to evoke a smile and warm hearts.
Whether you’re celebrating with that special someone, hosting a joyful gathering for friends, or even planning a surprise for the kids, these cake popsicles are versatile. You can customize the flavors and decorations to suit any taste or occasion. Imagine vibrant red velvet, rich chocolate, or refreshing vanilla—your imagination is the only limit. So, why not surprise your loved ones with these irresistible treats? After trying the recipe, you’re bound to consider making them not just for Valentine’s Day but for any celebrations to come.
Key Benefits of Irresistible Valentine Cake Popsicles
Why You’ll Love This Recipe
- Versatile Flavors: Use any cake mix and frosting flavor to make it uniquely yours.
- Visual Appeal: Brightly colored coatings and sprinkles add a festive touch.
- Easy to Make: Simple steps mean anyone can whip these up without hassle.
- Fun for Everyone: Perfect for kids and adults alike, these treats will be a hit.
- Customizable Shapes: Use different molds or popsicle sticks for creative presentations.
What Makes It Stand Out
These Irresistible Valentine Cake Popsicles are not just another sweet treat. They combine the fun of cake pops with the refreshing chill of popsicles, making them ideal for any occasion, especially during the warmer months. What’s more, their customizable nature allows you to celebrate each moment uniquely. You can choose flavors that represent love and friendship, making the experience even more meaningful.
These popsicles are also a fantastic way to engage your family in the kitchen, offering a creative and fun activity for all ages. Whether you’re baking with your partner or crafting with kids, the joy of making these delightful treats together adds a special touch.
Ingredients for Irresistible Valentine Cake Popsicles
Complete Ingredient List with Measurements
- 1 box cake mix (any flavor)
- 1/2 cup frosting (any flavor)
- Candy melts or chocolate for coating
- Sprinkles for decoration
- Popsicle sticks
Substitutes and Alternatives
If you’re looking for alternatives due to allergies or dietary needs, consider the following substitutions. Opt for gluten-free cake mix and frosting to cater to gluten-sensitive folks, ensuring everyone can enjoy them. For a dairy-free option, there are plenty of dairy-free cake mixes and vegan frosting available. You can also replace candy melts with dairy-free chocolate for an equally delightful finish. The beauty of these Irresistible Valentine Cake Popsicles lies in their adaptability; you can make them fit your dietary preferences without compromising on flavor.
How to Make Irresistible Valentine Cake Popsicles – Step-by-Step Directions
Step 1 – Prepare Ingredients
Start by preheating your oven according to the instructions on the cake mix box. Gather your baking pan, measuring cups, and all other ingredients needed for the recipe. This will ensure that your process is smooth and efficient.
Step 2 – Cook the Base
Prepare your baking pan as directed on the cake mix box. Pour the cake batter into the pan and bake according to the package instructions, generally around 25-35 minutes. You’ll know the cake is done when a toothpick inserted in the center comes out clean. Allow the cake to cool completely in the pan.
Step 3 – Crumble the Cake
Once your cake is cool, transfer it to a large bowl. Use your hands or a fork to crumble the cake until it resembles fine crumbs. This step is crucial for achieving that delightful texture for your Irresistible Valentine Cake Popsicles.
Step 4 – Mix with Frosting
Next, add 1/2 cup of frosting to the crumbled cake. Mix thoroughly until the frosting is fully combined with the cake crumbs. The texture should be moist but not overly wet; it should hold together well when shaped.
Step 5 – Shape the Cake Balls
Using your hands, scoop out small portions of the cake-frosting mixture and roll them into balls. Press small popsicle sticks into each ball, ensuring they are secure. This creates the base for your popsicles. Arrange them on a baking sheet lined with parchment paper.
Step 6 – Freeze Until Firm
Place the baking sheet in the freezer for about 30 minutes. This step is vital for setting the cake balls, so they maintain their shape during coating.
Step 7 – Melt the Coating
While your cake balls are freezing, melt the candy melts or chocolate according to package instructions. Stir until smooth and completely melted, creating a silky coating for your popsicles.
Step 8 – Dip Each Popsicle
Once the cake balls are firm, take each one out of the freezer. Dip each popsicle into the melted coating, ensuring it’s fully covered. Allow any excess coating to drip off before proceeding to the next step.
Step 9 – Add Sprinkles
Before the coating sets, sprinkle your decorations on the popsicles. This is where creativity plays a part! Use any colored sprinkles or themed decorations to enhance their appearance for the occasion.
Step 10 – Cool Completely
Let the coated popsicles cool completely in the freezer until the coating is firm. This ensures they’re ready to be enjoyed without losing shape or flavor.
Serving Suggestions for Irresistible Valentine Cake Popsicles
Best Occasions to Serve This Dish
Irresistible Valentine Cake Popsicles are perfect for various occasions. While they are an obvious choice for Valentine’s Day, they also make excellent birthday party desserts or fun summer treats for family gatherings. The playful popsicle presentation adds joy to any celebration, making them ideal for bridal showers or engagement parties too.
What to Serve With It
Pair these cake popsicles with refreshing drinks like sparkling lemonade or fruity smoothies for a complete experience. Additionally, serve alongside ice cream or yogurt for an extra indulgent treat. They also complement fruit platters beautifully, adding a sweet contrast.
How to Store Irresistible Valentine Cake Popsicles Properly
Best Storage Practices
To store your Irresistible Valentine Cake Popsicles, place them in an airtight container and keep them in the freezer. They can last for up to 2-3 weeks, ensuring you have a sweet treat ready whenever the craving strikes.
Reheating and Freezing Tips
These popsicles are best enjoyed straight from the freezer and don’t require reheating. However, if you have leftovers, simply return them to the airtight container and place them back in the freezer. Avoid leaving them out for too long to prevent melting.
Tips & Tricks for Irresistible Valentine Cake Popsicles
Mistakes to Avoid
- Skipping Cooling Time: Make sure to let the cake cool completely; otherwise, the mixing texture and popsicle shape will be affected.
- Over-mixing the Frosting: Mix just until combined; over-mixing can lead to a tough texture.
- Not Freezing Enough: Ensure sufficient freezing time; if not firm enough, popsicles may break when dipped.
- Not Securing Sticks Well: Make sure sticks are inserted securely at the right depth; otherwise, they can fall off during dipping.
- Too Much Coating: Allow excess chocolate to drip properly; otherwise, it can create a messy finish.
Extra Tips for Better Results
- Experiment with different flavored frostings to enhance the taste of your Irresistible Valentine Cake Popsicles.
- For better presentations, color coordinate your sprinkles to match the occasion.
- Add a layer of texture by incorporating crushed cookies or nuts into your cake mix before shaping the popsicles.
Recipe Variations of Irresistible Valentine Cake Popsicles
Creative Twists
- Brownie Popsicles: Substitute cake mix with brownie mix for a rich chocolate experience that will please any chocolate lover.
- Fruit-Infused Popsicles: Add fruit puree or bits into the cake mix for fruity surprises within the cake popsicles.
- White Chocolate Coating: Experiment with different types of melted chocolate for coating, such as white chocolate for a sweeter twist.
Dietary Adjustments
For a vegan version, use plant-based cake mixes and dairy-free frosting. Gluten-free options are widely available and can accommodate those with gluten sensitivities. Additionally, you can consider using natural sweeteners if sticking to healthier alternatives.
Conclusion about Irresistible Valentine Cake Popsicles
In conclusion, Irresistible Valentine Cake Popsicles offer a delightful, easy-to-make treat that blends the joy of cake with the refreshing quality of popsicles. They are perfect for any occasion, not just Valentine’s Day, and can be easily customized to suit various tastes and dietary needs. The fun of creating these popsicles together with friends or family makes the experience even more enjoyable. With so many options for flavors and decorations, these popsicles will surely impress anyone lucky enough to try them.
Don’t hesitate; grab your ingredients and start creating your batch of Irresistible Valentine Cake Popsicles today. The combination of flavors, textures, and colors will make your celebration not just tasty but memorable. Get ready to spread joy and sweetness with this delightful recipe!
FAQs about Irresistible Valentine Cake Popsicles
Can I use any cake mix for this recipe?
Yes, you can use any cake mix flavor that you prefer! Feel free to experiment with different flavors.
How long can I store these popsicles?
You can store Irresistible Valentine Cake Popsicles in an airtight container in the freezer for up to 2-3 weeks.
Can I use homemade cake instead of box cake mix?
Absolutely! You can use your favorite homemade cake recipe as a substitute for box cake mix.
What frosting works best for these popsicles?
Any frosting flavor you enjoy will work—chocolate, vanilla, or cream cheese frosting are all great options.
Can I make vegan Irresistible Valentine Cake Popsicles?
Yes! Use vegan cake mix and frosting, along with dairy-free candy melts for coating.
Can I decorate them in advance?
You can do the decorating in advance, but it’s best to store them properly in the freezer until you’re ready to serve.
What should I do if the coating is too thick?
If your coating appears too thick, try adding a small amount of vegetable oil or shortening to help thin it out for easier dipping.
Can I use regular chocolate instead of candy melts?
Yes, you can definitely use chocolate. Just be sure to temper it properly for a smooth coating texture.

Irresistible Valentine Cake Popsicles
Ingrédients
Base Ingredients
- 1 box cake mix (any flavor) Use your favorite cake mix flavor.
- 1/2 cup frosting (any flavor) Choose any frosting flavor you enjoy.
- 12 pieces popsicle sticks For shaping the popsicles.
Coating and Decoration
- 1 cup candy melts or chocolate For coating the popsicles.
- 1 cup sprinkles For decoration. Use any themed sprinkles.
Instructions
Preparation
- Preheat your oven according to the instructions on the cake mix box.
- Gather your baking pan, measuring cups, and all other ingredients needed for the recipe.
Cooking the Base
- Prepare your baking pan as directed on the cake mix box.
- Pour the cake batter into the pan and bake according to package instructions, generally around 25-35 minutes.
- Allow the cake to cool completely in the pan.
Making the Popsicles
- Transfer the cooled cake to a large bowl and crumble it until it resembles fine crumbs.
- Add 1/2 cup of frosting to the crumbled cake and mix thoroughly until fully combined.
- Scoop out small portions of the mixture and roll them into balls, pressing a popsicle stick into each ball.
- Arrange the cake balls on a baking sheet lined with parchment paper.
- Place the baking sheet in the freezer for about 30 minutes to firm up the cake balls.
- Melt the candy melts or chocolate according to package instructions.
- Dip each popsicle into the melted coating, fully covering it and allowing excess to drip off.
- Before the coating sets, add sprinkles for decoration.
- Let the coated popsicles cool completely in the freezer until the coating is firm.