

Table of Contents
Introduction to Traditional Thumb Bars
What is it about homemade treats that make them so comforting? If you’ve ever tasted a freshly baked dessert, you know that nothing compares. Traditional Thumb Bars are the epitome of a delightful homemade treat, combining rich buttery goodness with sweet fruit preserves. This recipe isn’t just easy to make; it also has a unique blend of flavors and textures that will awaken your taste buds.
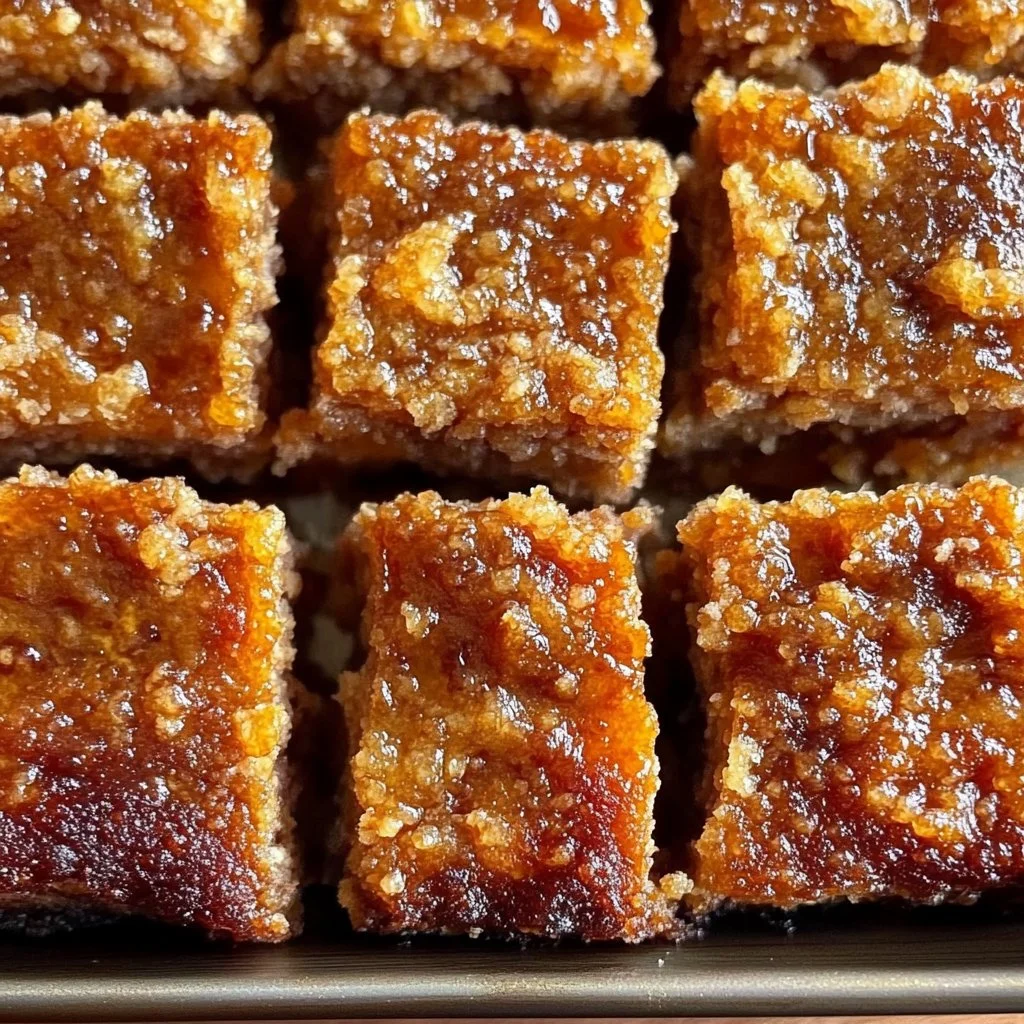
Imagine biting into a soft, crumbly bar topped with a luscious layer of your favorite fruit jam. The buttery base and crumbly top create a satisfying contrast that leaves you craving more. Often prepared for gatherings, these bars have an incredible way of bringing people together around a cozy kitchen table or a festive celebration. Whether they are served at a birthday party or simply enjoyed as an afternoon snack, Traditional Thumb Bars never go out of style.
So, why make Traditional Thumb Bars at home? For starters, this recipe is incredibly straightforward, making it perfect for bakers of all skill levels. With simple, wholesome ingredients, you can enjoy a treat that tastes far better than anything bought at the store. Furthermore, the versatility of this recipe allows for customization according to your taste preferences—they can be made with any fruit preserves you love or even topped with nuts for added texture.
Key Benefits of Traditional Thumb Bars
Why You’ll Love This Recipe
- Combines rich flavors of butter and fruit preserves for a delightful taste.
- Simple to prepare—great for both beginners and experienced bakers.
- Versatile with endless flavor combinations from different jams.
- Perfect for sharing at gatherings, parties, or as a special treat.
- Easy to store, making them great for meal prep or last-minute desserts.
What Makes It Stand Out
What sets Traditional Thumb Bars apart from other desserts is their nostalgic charm. These bars have been loved for generations, blending childhood memories with the joy of baking. They’re not just another cookie; they are a delightful reminder of home and comfort.
Customization is another reason they shine. Use raspberry, strawberry, or even apricot preserves, or switch it up with seasonal fruit jams to adapt to your palate. You can adjust sweetness levels or even add a nutty crunch with walnuts or pecans, making your version entirely your own.
Ingredients for Traditional Thumb Bars
Complete Ingredient List with Measurements
- 1 cup (226 g) unsalted butter, softened
- ¾ cup (150 g) granulated sugar
- 1 teaspoon vanilla extract
- ½ teaspoon almond extract (optional but classic)
- 1 large egg
- 2¼ cups (280 g) all-purpose flour
- ¼ teaspoon salt
- ¾ to 1 cup thick fruit preserves or jam (raspberry, apricot, strawberry, mixed berry work beautifully)
Substitutes and Alternatives
If you’re looking to make swaps due to allergies or dietary preferences, here are some ideas. For a dairy-free version, consider using plant-based butter or coconut oil. You could replace all-purpose flour with gluten-free all-purpose flour for those needing gluten-free options, just ensure you check the flour blend is suitable for baking.
For a lower sugar alternative, try using a sugar substitute that measures cup-for-cup like Stevia or erythritol. Just remember that it may slightly alter the texture or flavor.
How to Make Traditional Thumb Bars – Step-by-Step Directions
Step 1 – Prepare Ingredients
Start by gathering all the ingredients listed above. Ensure your butter is properly softened; this makes it much easier to cream with sugar. Also, preheat your oven to 350°F (175°C) during this step.
Step 2 – Cook the Base
Line an 8×8-inch baking pan with parchment paper, leaving an overhang to help with easy removal later. In a large mixing bowl, cream the softened butter and granulated sugar together until light and fluffy.
Step 3 – Add Flavorings
Next, beat in the vanilla extract and almond extract, if using. Add the large egg to the mixture and mix until well combined.
Step 4 – Form the Dough
In another bowl, whisk together the all-purpose flour and salt. Gradually add this flour mixture to the wet ingredients, mixing just until a soft dough forms.
Step 5 – Press the Base
Take about two-thirds of the dough and press it evenly into the bottom of the prepared baking pan. The base should be compact and smooth because it will hold up the fruit preserves.
Step 6 – Add the Jam Layer
Spread your choice of fruit preserves evenly over the dough base. Leave a small border around the edges to prevent overflow, ensuring the preserves don’t burn during baking.
Step 7 – Top with Crumble
Crumble the remaining dough over the jam layer in small pieces. It doesn’t have to be uniform; the unevenness adds character and texture to the bars.
Step 8 – Bake
Place the prepared baking pan into the preheated oven and bake for 25–30 minutes. You’ll know it’s done when the top is lightly golden.
Step 9 – Cool & Slice
Let the bars cool completely in the pan before lifting them out using the parchment paper overhang. Once completely cool, slice into squares or bars, and enjoy!
Serving Suggestions for Traditional Thumb Bars
Best Occasions to Serve This Dish
The versatility of Traditional Thumb Bars makes them suitable for numerous occasions. They are perfect for afternoon tea gatherings, birthday parties, or simply as a delightful dessert after dinner. You can also prepare them as a sweet treat during holiday celebrations or bake sales, making them a hit among friends and family.
What to Serve With It
Pair these bars with a cup of tea, coffee, or milk for a classic combination. Top them with whipped cream or a scoop of vanilla ice cream for an indulgent dessert, or serve alongside fresh fruit to lighten things up.
How to Store Traditional Thumb Bars Properly
Best Storage Practices
To keep your Traditional Thumb Bars fresh, store them in an airtight container at room temperature for up to a week. Ensure they are completely cooled before sealing to prevent moisture buildup, which can make them soggy.
Reheating and Freezing Tips
If you plan to enjoy them later, these bars freeze beautifully. Wrap them tightly in plastic wrap or foil, then place them in an airtight freezer bag. They can be frozen for up to three months. To reheat, thaw at room temperature and enjoy as is, or pop them in a warm oven for a few minutes to regain their delicious texture.
Tips & Tricks for Traditional Thumb Bars
Mistakes to Avoid
1 – Not softening the butter enough can result in a dense base.
2 – Overmixing the dough will lead to tough bars; mix just until combined.
3 – Using too much jam can cause spilling during baking; stick to the recommended amount.
4 – Not letting the bars cool completely before cutting may result in a messy slice.
5 – Forgetting to line the baking pan makes it difficult to lift the bars out.
Extra Tips for Better Results
For an extra layer of flavor, consider adding lemon zest to your dough. This will balance beautifully with the sweetness of the fruit preserves. If you’re looking for a crunch, top the bars with chopped nuts before baking, or sprinkle a little coarse sugar on top for a sweet caramelized finish.
Recipe Variations of Traditional Thumb Bars
Creative Twists
1 – Chocolate Marble Variation: Add cocoa powder to half of the dough and layer it with raspberry jam for a chocolatey twist.
2 – Nutty Fingers: Incorporate finely chopped nuts—like walnuts or almonds—into the dough for a crunchy element.
3 – Citrus Infusion: Swap fruit jams for a lemon curd filling or orange marmalade for a fresh citrus taste.
Dietary Adjustments
For a vegan version, substitute the egg with a flaxseed egg (1 tbsp flaxseed meal + 2.5 tbsp water) and use coconut yogurt or additional fruit puree. To make it gluten-free, replace all-purpose flour with a gluten-free blend.
Conclusion about Traditional Thumb Bars
Traditional Thumb Bars are not just a recipe; they are a delightful experience that brings nostalgia and warmth back into the kitchen. They are simple, versatile, and, most importantly, delicious. Whether you stick to the original or try creative variations, you’re bound to impress family and friends while enjoying the sweet taste of homemade goodness. So gather your ingredients, preheat your oven, and prepare to make a timeless treat that will become a favorite in your home.
FAQs about Traditional Thumb Bars
Can I make Traditional Thumb Bars ahead of time?
Yes! You can prepare the dough in advance and refrigerate it for up to three days before baking.
How long do Traditional Thumb Bars last?
Stored properly in an airtight container, they can last for up to a week at room temperature.
Can I freeze Traditional Thumb Bars?
Absolutely! They freeze well for up to three months. Just make sure to wrap them tightly.
Can I use different flavors of jam?
Certainly! Feel free to experiment with any fruit preserves you like, such as peach or cherry.
What should I do if my bars crumble when cutting?
Make sure to let them cool completely before cutting to avoid crumbling. A sharp knife can also help create clean cuts.
Can I use margarine instead of butter?
Yes, but keep in mind that the flavor and texture may vary slightly with margarine compared to using real butter.
What’s the best way to reheat Traditional Thumb Bars?
Thaw them at room temperature and enjoy them as is, or reheat briefly in an oven for a few minutes to regain warmth and texture.
Is it necessary to line the baking pan?
Yes, lining the pan with parchment paper ensures easy removal of the bars and prevents sticking.

Traditional Thumb Bars
Ingrédients
Basic Ingredients
- 1 cup unsalted butter, softened
- ¾ cup granulated sugar
- 1 teaspoon vanilla extract
- ½ teaspoon almond extract (optional) Classic addition
- 1 large egg
- 2¼ cups all-purpose flour
- ¼ teaspoon salt
Fruit Layer
- ¾ to 1 cup thick fruit preserves or jam (raspberry, apricot, strawberry, mixed berry) Choose your preferred flavor
Instructions
Preparation
- Gather all the ingredients and ensure your butter is properly softened.
- Preheat your oven to 350°F (175°C).
Making the Base
- Line an 8×8-inch baking pan with parchment paper, leaving an overhang.
- In a large mixing bowl, cream the softened butter and granulated sugar together until light and fluffy.
Adding Flavor
- Beat in the vanilla extract and almond extract, if using.
- Add the large egg to the mixture and mix until well combined.
Forming the Dough
- In another bowl, whisk together the all-purpose flour and salt.
- Gradually add this flour mixture to the wet ingredients, mixing just until a soft dough forms.
Assembling the Bars
- Take about two-thirds of the dough and press it evenly into the bottom of the prepared baking pan.
- Spread your choice of fruit preserves evenly over the dough base.
- Crumble the remaining dough over the jam layer in small pieces.
Baking and Cooling
- Bake in the preheated oven for 25–30 minutes until the top is lightly golden.
- Let the bars cool completely in the pan before lifting them out using the parchment paper overhang.
- Once cooled, slice into squares or bars and enjoy.