
Table of Contents
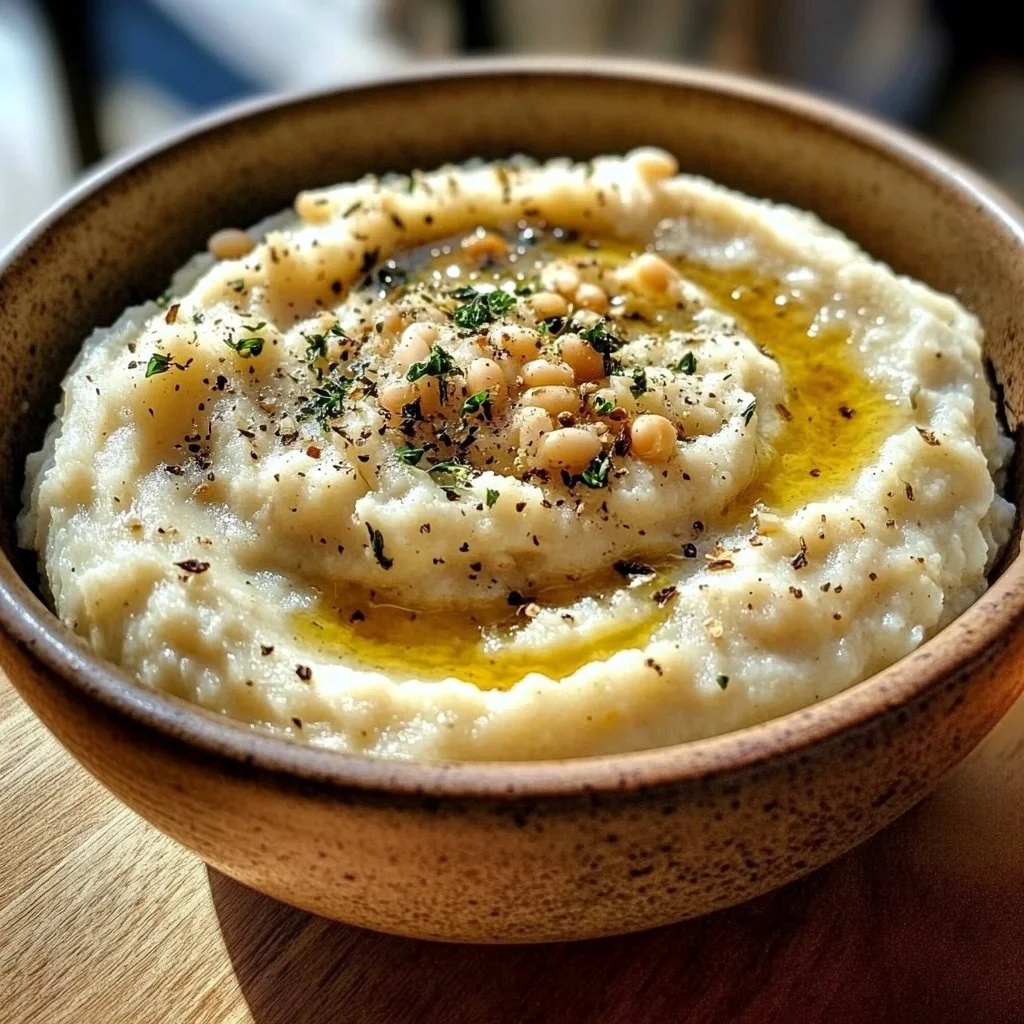
Have you ever craved a dish that’s both comforting and delicious? Look no further than Garlic White Bean Mash. This delightful recipe combines simplicity with robust flavor, transforming humble white beans into a creamy, savory delight. Perfect for those who seek a quick and healthy side dish, this mash is a fantastic addition to any meal.
What makes Garlic White Bean Mash special? It’s not just easy to prepare but also versatile enough to suit various tastes and occasions. Whether you’re hosting a dinner party or simply enjoying a quiet evening at home, this recipe delivers satisfaction with every bite. Plus, it’s a great way to incorporate protein and fiber into your diet without sacrificing taste.
Imagine sitting down to a warm bowl of Garlic White Bean Mash. The aroma of roasted garlic fills the air, inviting everyone to gather around the table. Who can resist such a welcoming dish? In under 30 minutes, you can create something that tastes gourmet but feels homey.
Garlic White Bean Mash is not just about flavor; it’s about bringing people together. When served as an appetizer or a side, it sparks conversation and complements various cuisines. So, are you ready to explore this fabulous recipe and discover why it’s a favorite among many?
Key Benefits of Garlic White Bean Mash
Why You’ll Love This Recipe
- Flavorful: The combination of garlic and lemon juice makes for a fresh and zesty taste.
- Quick Preparation: Ready in just 30 minutes, this dish fits easily into your busy schedule.
- Nutritious: White beans are packed with protein and fiber, making this mash both filling and healthy.
- Versatile: It pairs perfectly with bread, veggies, or served alongside any main dish.
- Family-Friendly: Even picky eaters can enjoy this creamy treat, making it a great dish for all ages.
- Customizable: Feel free to add herbs or spices for a personal touch.
What Makes It Stand Out
Garlic White Bean Mash is truly unique. Its originality lies in the delightful flavor profile. The earthy white beans combined with the boldness of garlic creates a mouth-watering experience that’s unlike any other. Moreover, the simplicity of the ingredients allows for easy customization.
You can swap ingredients based on what you have at home, making it approachable for everyone. Whether it’s a casual family dinner or a festive gathering, this mash fits seamlessly into any occasion. It’s a dish that delights taste buds and makes an impression.
Ingredients for Garlic White Bean Mash
- 2 cups cooked white beans: Use any variety, like cannellini or navy beans.
- 4 cloves garlic, minced: Fresh garlic adds a punch of flavor.
- 2 tablespoons olive oil: Choose extra virgin for the best taste.
- 1 tablespoon lemon juice: Freshly squeezed elevates the dish.
- Salt to taste: Enhances all the flavors.
- Pepper to taste: Adds a slight kick.
These ingredients are not just easy to find; they also work harmoniously to create a fantastic dish.
Substitutes and Alternatives
If you’re looking to swap out any ingredients, there are always options. For those who may need a bean alternative, try using chickpeas for a similar texture and taste. If garlic isn’t your favorite, roasted garlic can provide a milder flavor that’s less pungent.
For a different twist, consider adding herbs like rosemary or thyme instead of lemon juice for a more earthy flavor. The beauty of Garlic White Bean Mash lies in its adaptability.
How to Make Garlic White Bean Mash – Step-by-Step Directions
Step 1 – Prepare Ingredients
Start by gathering all your ingredients. Measure out the cooked white beans, olive oil, and lemon juice. Mince the garlic finely to ensure its flavor is well-distributed.
Step 2 – Cook the Garlic
In a small skillet, heat a tablespoon of olive oil over medium heat. Add the minced garlic and sauté for about 2 minutes, or until fragrant but not burnt. This step enhances the garlic’s flavor.
Step 3 – Combine Beans and Garlic
In a mixing bowl, combine the cooked white beans with the sautéed garlic. This is where the magic begins, as you mix the savory notes of garlic with the creamy texture of beans.
Step 4 – Add Olive Oil and Lemon Juice
Pour in the remaining olive oil and lemon juice. The oil adds richness, while the lemon juice brings brightness to the dish.
Step 5 – Mash the Mixture
Using a fork or potato masher, mash the mixture to your desired consistency. Aim for a smooth blend with some chunky bits for texture.
Step 6 – Season to Taste
Sprinkle in salt and pepper, adjusting according to your personal preference. Taste as you go to ensure it’s just right.
Step 7 – Serve Warm
Transfer the Garlic White Bean Mash to a serving bowl. Drizzling a bit more olive oil on top can add an appealing finish.
Step 8 – Enjoy with Your Favorite Dishes
Pair your mash with crusty bread, fresh veggies, or as a side to grilled meats. The possibilities are endless!
Serving Suggestions for Garlic White Bean Mash
Best Occasions to Serve This Dish
Garlic White Bean Mash shines at various gatherings. Serve it as an appetizer during a dinner party, and watch guests devour it. It can easily act as a side during a family barbecue, enhancing grilled meats beautifully.
Feeling cozy at home? This dish makes for a comforting solo meal, perfect for a cold evening. Whether it’s a casual night or a special celebration, Garlic White Bean Mash will always fit the bill.
What to Serve With It
- Crusty bread: A perfect vehicle for scooping up the mash.
- Raw vegetables: Carrots, cucumbers, or bell peppers for a healthy crunch.
- Grilled chicken or fish: The flavors complement each other wonderfully.
- Salads: A fresh green salad on the side brings balance to the meal.
- Wine: Consider pairing with a light white wine for an elevated experience.
How to Store Garlic White Bean Mash Properly
Best Storage Practices
To keep your Garlic White Bean Mash fresh, store it in an airtight container in the fridge. It will last about 3 to 5 days. Just be sure to let it cool before sealing; this prevents moisture buildup which can spoil the dish.
Reheating and Freezing Tips
When ready to enjoy leftovers, simply reheat in the microwave or on the stovetop. If frozen, place in a freezer-safe container for up to three months. Thaw overnight in the fridge and reheat gently, adding a splash of olive oil to restore creaminess.
Tips & Tricks for Garlic White Bean Mash
Mistakes to Avoid
- Overcooking garlic: This can lead to bitterness. Sauté just until fragrant.
- Using unseasoned beans: Always taste your beans first; they might need seasoning.
- Not mashing enough: The texture should be creamy, so mash well for the best result.
- Skipping lemon juice: This brightens the flavor, so don’t omit it!
- Ignoring freshness: Always opt for fresh garlic over jarred or powdered for a better taste.
Extra Tips for Better Results
Try adding fresh herbs for an aromatic twist or a sprinkle of red pepper flakes for heat. You might also consider adding a splash of vegetable broth for an even creamier consistency. Presentation matters, too — drizzle with olive oil and sprinkle fresh herbs on top before serving.
Recipe Variations of Garlic White Bean Mash
Creative Twists
- Herbed Variation: Add fresh herbs like parsley or basil for a fresh twist.
- Spicy Kick: Incorporate a pinch of chili flakes for those who enjoy heat.
- Creamy Addition: Mix in some plain yogurt for added creaminess without losing flavor.
- Cheesy Delight: Fold in some grated Parmesan or feta for a savory nutty flavor.
Dietary Adjustments
This recipe can easily be made vegan by ensuring all ingredients are plant-based. It’s gluten-free naturally, so it suits those with gluten sensitivities. Dairy-free options are also available by avoiding cheese or creamy additions.
Conclusion about Garlic White Bean Mash
Incorporating Garlic White Bean Mash into your culinary repertoire is a decision you won’t regret. With its delightful combination of flavors and textures, it serves as a versatile side dish that’s both nutritious and delicious.
Whether you choose to enjoy it as a dip, a side, or a dressing for your favorite salads, this recipe brings warmth and comfort to the table. Its simplicity allows for easy adaptations, making it ideal for any meal occasion.
So why not give this Garlic White Bean Mash a try? You’ll be amazed at how a few simple ingredients can come together to create something so spectacular.
FAQs about Garlic White Bean Mash
Can I prepare it ahead of time? Absolutely! Garlic White Bean Mash can be made a day in advance and stored in the fridge.
Can I freeze it? Yes, this dish freezes well. Just make sure to place it in a freezer-safe container.
How long does it last? When stored correctly, it can last 3-5 days in the fridge.
What are the best substitutions? You can swap white beans for chickpeas or add different herbs based on your taste preference.
Is this recipe family-friendly? Definitely! Its mild flavors make it appealing for both kids and adults.
Can I make it spicier? Yes! Add red pepper flakes or jalapeños to the mix for added heat.
What’s a good accompaniment for this dish? It pairs beautifully with grilled meats or as a hearty dip for chips and veggies.
How can I enhance the flavor? Consider adding smoked paprika or a drizzle of balsamic glaze for an intriguing twist.
Is it suitable for meal prep? Yes, it’s perfect for meal prep, making it easy to include in your weekly meals.
Can I use canned beans? Yes, canned beans are a convenient option. Just be sure to rinse and drain them well before use.

Garlic White Bean Mash (Purée de Haricots Blancs à l’Ail)
Equipment
- Casserole
- Pilon ou mixeur
Ingrédients
Purée de Haricots Blancs
- 2 boîtes haricots blancs (cannellini), égouttés et rincés
- 3 gousses ail émincées
- 2 c. à soupe huile d’olive
- 120 ml bouillon (légumes ou eau)
- 1 c. à soupe jus de citron facultatif, pour ajouter de la fraîcheur
- sel et poivre au goût
Garniture (Optionnel)
- persil frais haché, pour garnir
Instructions
- Chauffer l’huile d’olive dans une casserole à feu moyen. Ajouter l’ail émincé et faire revenir 1-2 minutes jusqu’à ce qu’il soit parfumé sans brûler.
- Ajouter les haricots blancs égouttés, le bouillon (ou l’eau) et le jus de citron (si utilisé) dans la casserole.
- Laisser mijoter quelques minutes pour réchauffer les haricots et bien mélanger les saveurs.
- À l’aide d’un pilon ou d’un mixeur, écraser les haricots jusqu’à l’obtention de la consistance désirée (rustique ou bien lisse).
- Assaisonner avec du sel et du poivre selon votre goût.
- Servir chaud ou à température ambiante, garni de persil frais si vous le souhaitez.