

Table of Contents
Introduction to Valentine’s Day Cake Pops
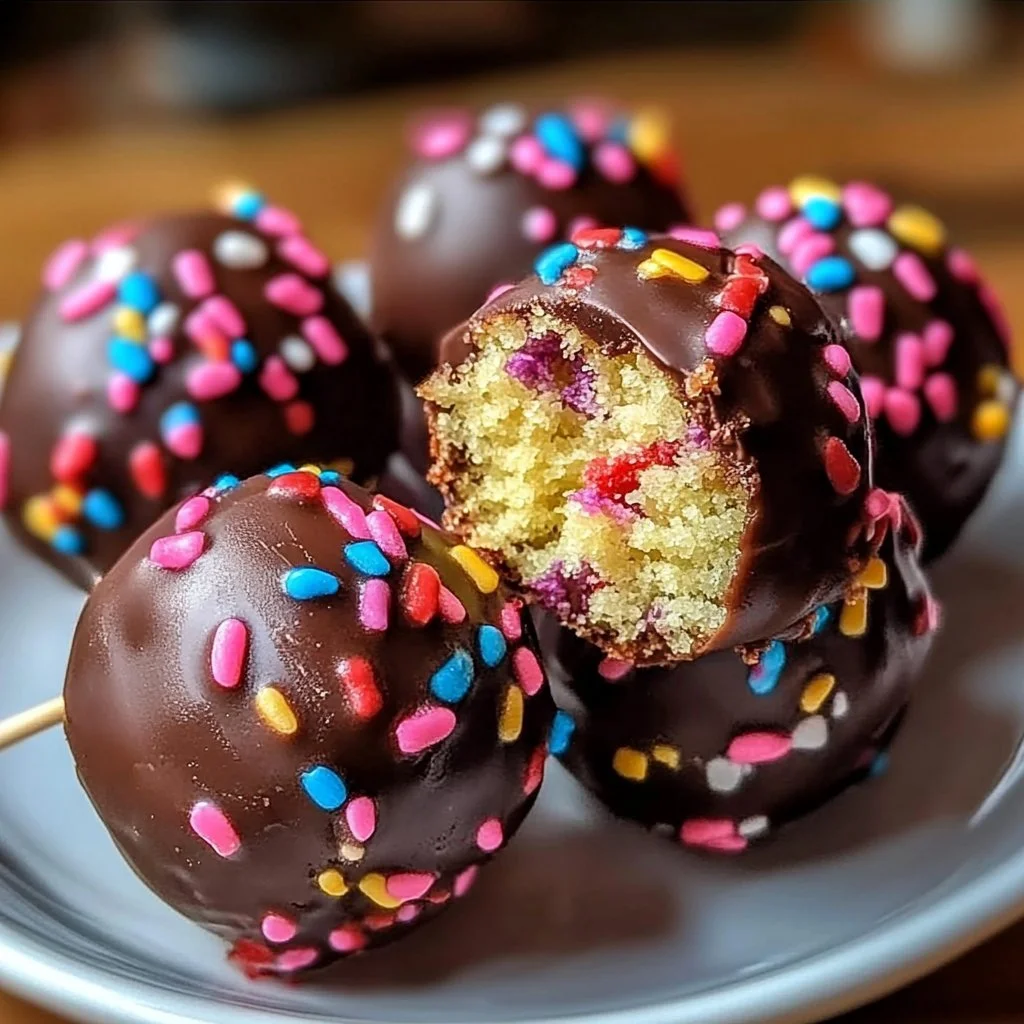
Valentine’s Day is a special occasion that celebrates love, affection, and sweet moments. What could be better than treating your loved ones with homemade, delicious Valentine’s Day Cake Pops? These delightful treats are not just irresistibly cute but also incredibly tasty, making them a perfect gift for anyone on this lovey-dovey holiday. Have you ever wondered how you can easily whip up festive snacks that impress without having to spend all day in the kitchen? This recipe is your answer.
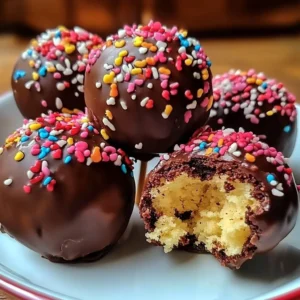
The beauty of Valentine’s Day Cake Pops lies in their versatility. You can use any flavor of cake mix and customize the decorations to suit the personality of your recipient. These small, round desserts on a stick are perfect for sharing, are easy to make, and can be adorned with colorful sprinkles for extra charm. They are a fun project to do alone or with family and friends, amplifying the joy of baking during this romantic holiday.
What makes this recipe truly special is its simplicity. With just a few ingredients, you can create a beautiful display of cake pops that mirror the festive spirit of Valentine’s Day. Plus, they’re the kind of dessert that appeals to both kids and adults alike, making them an excellent choice for any celebration. Whether it’s a school party, a romantic dinner, or a casual get-together, these delicious bites will surely be the talk of the event.
Key Benefits of Valentine’s Day Cake Pops
Why You’ll Love This Recipe
- Flavorful Variety: With any cake mix flavor, you can satisfy every taste preference.
- Easy to Make: This simple recipe doesn’t require advanced baking skills.
- Makes for a Cute Gift: They are beautifully presented and perfect for sharing.
- Versatile Decorating Options: Use sprinkles, chocolate drizzles, or themed designs.
- Fun for All Ages: Ideal for involving kids or friends in a creative activity.
What Makes It Stand Out
These Valentine’s Day Cake Pops are more than just a treat. They represent creativity and love, making your effort feel personal and meaningful. You can customize them for various occasions beyond Valentine’s Day, making them a timeless addition to your dessert repertoire. From birthdays to anniversaries, they’re perfect for nearly any celebration. The adaptability of these treats ensures that you can create a unique delicacy tailored to each event, making them always special.
Ingredients for Valentine’s Day Cake Pops
Complete Ingredient List with Measurements
- 1 box of cake mix (any flavor)
- 1 cup of frosting (coordinate with cake flavor)
- Chocolate or candy melts (for coating)
- Lollipop sticks (as desired)
- Sprinkles (optional)
- Baking sheet
- Parchment paper
Substitutes and Alternatives
If you have dietary restrictions, don’t worry! There are many alternatives available. For gluten-free needs, select a gluten-free cake mix. If you want to make it dairy-free, a dairy-free frosting will work in place of traditional frosting. You can also opt for vegan variations using cake mixes that do not contain eggs or milk.
Additional Notes on Substitutions
If you need to avoid sugar, consider using sugar-free cake mix and frosting. For those who dislike chocolate, use white chocolate or colored candy melts to keep those pops colorful and festive. These options allow you to cater to different dietary needs while still presenting delicious Valentine’s Day Cake Pops.
How to Make Valentine’s Day Cake Pops – Step-by-Step Directions
Step 1 – Prepare Ingredients
Start by gathering all your ingredients and equipment. Preheat your oven as per the cake mix instructions. Make sure your baking sheet is lined with parchment paper, which will prevent sticking once the cake pops are formed.
Step 2 – Cook the Base
Follow the instructions on your cake mix box and bake the cake. Ensure that it’s cooked thoroughly. Once done, let it cool completely on a wire rack—about 30–40 minutes.
Step 3 – Crumble the Cake
When the cake is completely cool, place it in a large bowl. Use your hands or a fork to crumble it into fine pieces until no chunks remain. The finer the crumbs, the better they will mix with frosting.
Step 4 – Mix in the Frosting
Add the cup of frosting gradually into the crumbled cake. Mix it well until it forms a dough-like consistency. You want it moist enough to hold a shape but not too gooey or sticky.
Step 5 – Roll into Balls
Take small portions of the mixture and roll them into balls, about 1 inch in diameter. Place these balls on your prepared baking sheet lined with parchment paper.
Step 6 – Insert Lollipop Sticks
Once you’ve rolled all the cake balls, take your lollipop sticks and insert them into the center of each ball. Be sure to insert them about halfway through so they can stand upright.
Step 7 – Freeze the Cake Pops
Place the baking sheet with the cake balls in the freezer for about 30 minutes. This will help set the shape and make dipping easier.
Step 8 – Melt the Coating
While the cake pops freeze, melt your chocolate or candy melts. You can use a microwave or double boiler. If using the microwave, melt in short bursts, stirring between each time to prevent burning.
Step 9 – Dip the Cake Pops
Once the coating is melted, dip each cake pop into the chocolate, ensuring that it’s completely covered. Allow any excess to drip off before placing it back on the parchment-lined baking sheet.
Step 10 – Decorate and Set
Before the coating hardens, decorate your cake pops with sprinkles or any additional toppings. Let them cool completely until the chocolate sets before serving.
Serving Suggestions for Valentine’s Day Cake Pops
Best Occasions to Serve This Dish
Valentine’s Day Cake Pops are perfect for various occasions. They shine at Valentine’s Day parties, sweet sixteen celebrations, and even casual family gatherings. Their portable nature makes them ideal for school events or picnics too. Imagine bringing a colorful assortment to share, delighting everyone with these fun treats.
What to Serve With It
These cake pops are delicious as they are, but why not pair them with a refreshing drink? A sparkling raspberry lemonade or a rich hot chocolate can enhance the sweet flavors and make for a delightful experience. You could also present them alongside other treats like cookies, brownies, or cupcakes for a complete dessert table.
How to Store Valentine’s Day Cake Pops Properly
Best Storage Practices
To keep your Valentine’s Day Cake Pops fresh, store them in an airtight container. You can keep them at room temperature for about 2-3 days, but if it’s warm, refrigerate them to maintain flavor and texture. Ensure they’re not exposed to moisture in the fridge.
Reheating and Freezing Tips
If you need to freeze your cake pops, place them in an airtight container and separate layers with parchment paper. When you want to enjoy them, allow them to thaw in the refrigerator before serving. Avoid reheating, as it can cause the chocolate coating to melt or lose its shine.
Tips & Tricks for Valentine’s Day Cake Pops
Mistakes to Avoid
- Not letting the cake cool completely: This can lead to a messy mixture.
- Using too much frosting: It can make the balls soggy and difficult to roll.
- Skimping on the freezing time: Not freezing long enough can result in pops falling off their sticks.
- Dipping while chocolate is too hot: This can cause the cake ball to melt or fall apart.
- Overcrowding on the baking sheet: They can touch and stick to one another.
Extra Tips for Better Results
For better flavor, consider adding extracts like vanilla or almond to the cake mix. To enhance the presentation, drizzle contrasting chocolate over the hardened pops. You can also experiment with different molds for fun shapes or create themed pops for various holidays.
Recipe Variations of Valentine’s Day Cake Pops
Creative Twists
- Red Velvet Cake Pops: Use red velvet cake mix and cream cheese frosting for a classic feel.
- Chocolate Mint Pops: Incorporate mint extract into your chocolate coating for a refreshing twist.
- Fruit-Flavored Pops: Use lemon or strawberry cake mixes for a fruity treat.
- Themed Baker’s Twine: Wrap the sticks in baker’s twine to add a charming touch to your gifts.
Dietary Adjustments
- Vegan Options: Substitute eggs with applesauce and use plant-based frosting.
- Gluten-Free: Ensure to opt for gluten-free cake mix and certified gluten-free ingredients.
- Dairy-Free: Replace chocolate with dairy-free chocolate melts for coating.
Conclusion about Valentine’s Day Cake Pops
Valentine’s Day Cake Pops are not just a treat; they are a way to express love and creativity. They are delicious, easy to make, and offer endless opportunities for customization. Whether you’re celebrating with friends, family, or that special someone, these cake pops will delight and surprise. They make for an excellent gift and a perfect addition to any celebration. Try this recipe and experience the joy of creating something sweet and heartfelt for those you cherish.
FAQs about Valentine’s Day Cake Pops
How long do Valentine’s Day Cake Pops last?
They last about 2-3 days at room temperature and up to a week in the refrigerator.
Can I make Valentine’s Day Cake Pops ahead of time?
Absolutely! You can prepare and freeze them a few weeks in advance.
What can I use instead of cake mix?
You can make homemade cake batter with flour, sugar, eggs, and other ingredients if you prefer a from-scratch option.
How do I make sure my lollipop sticks don’t fall out?
Freezing the cake balls before dipping helps them stay intact when inserting sticks.
Can I use other types of chocolate for coating?
Yes! White chocolate or colored candy melts are excellent alternatives.
What flavor combinations work best?
Pairing vanilla cake with chocolate coating or red velvet cake with cream cheese frosting is a classic choice.
Do I need to refrigerate after making them?
Yes, refrigerate if not consumed within a couple of days, especially if it’s warm outside.
How do I store extras properly?
Keep them in an airtight container, separating layers with parchment paper for the best preservation.
Valentine’s Day Cake Pops
Ingrédients
For the Cake Base
- 1 box box of cake mix (any flavor) Use your favorite cake flavor.
- 1 cup of frosting (coordinate with cake flavor) Choose a frosting that complements the cake mix.
For Coating and Decoration
- 16 oz Chocolate or candy melts (for coating) Colors can vary based on preference.
- 24 pieces Lollipop sticks Insert into cake pops as desired.
- Sprinkles (optional) Use for decoration.
Equipment Needed
- 1 Baking sheet
- 1 Parchment paper To line the baking sheet.
Instructions
Preparation
- Gather all your ingredients and equipment.
- Preheat your oven as per the cake mix instructions.
- Line the baking sheet with parchment paper.
Baking the Cake
- Follow the instructions on your cake mix box and bake the cake.
- Once done, let it cool completely on a wire rack—about 30–40 minutes.
Making Cake Pops
- Once the cake is cool, crumble it into fine pieces in a large bowl.
- Gradually mix in the frosting until you achieve a dough-like consistency.
- Roll small portions into balls about 1 inch in diameter and place them on the baking sheet.
- Insert lollipop sticks halfway into each cake ball.
- Freeze the cake pops for about 30 minutes.
- Melt the chocolate or candy melts, stirring occasionally to prevent burning.
- Dip each cake pop into the melted coating, letting the excess drip off.
- Decorate the dipped pops with sprinkles before the coating hardens.
- Let them cool completely until the coating sets before serving.