
Table of Contents
Introduction to Chocolate Peppermint Bark
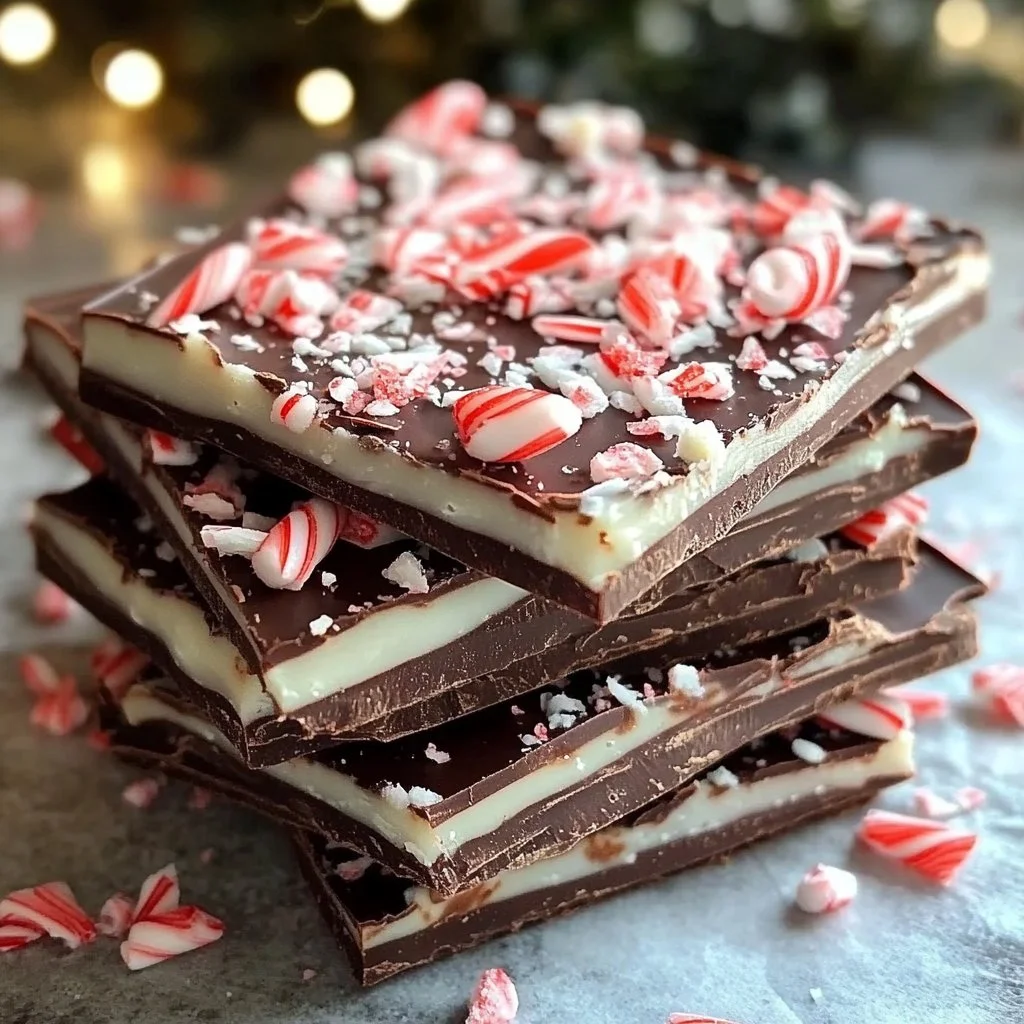
Have you ever found a treat that brings out the magical essence of the holidays? Chocolate Peppermint Bark is that delightful combination of rich chocolate and refreshing peppermint that warms the heart and fills the senses. It’s a favorite during festive gatherings and makes a perfect homemade gift. Whether you’re cozied up at home or hosting a holiday gathering, this homemade bark is sure to be a showstopper.
What sets Chocolate Peppermint Bark apart from other sweets? The answer lies in its simplicity and versatility. Made with just a few high-quality ingredients, the blend of creamy dark and white chocolate paired with the coolness of peppermint is nothing short of delicious. This recipe elevates traditional bark by adding a holiday twist with crushed candy canes, giving it that eye-catching red and white finish.
This Chocolate Peppermint Bark is not only easy to make but also customizes beautifully. Whether you prefer more peppermint flavor, extra crunch with nuts, or even adding a touch of sea salt for contrast, this bark can be personalized to fit your taste. The delightful layers of chocolate and seasonal flavors will have your friends and family coming back for seconds!
Key Benefits of Chocolate Peppermint Bark
- Flavor: The combination of semi-sweet or dark chocolate with creamy white chocolate gives a depth of flavor that’s simply unmatched.
- Simplicity: With just a few ingredients and straightforward steps, anyone can create this treat.
- Versatility: Easily customize the recipe by experimenting with different types of chocolate or mix-ins.
- Perfect for Gifting: This bark makes a beautiful and thoughtful gift during the holiday season.
- No Baking Required: You can make this treat without an oven, making it ideal for hot weather or when you’re short on time.
- Festive Appearance: The vibrant colors and textures make it visually appealing, perfect for holiday gatherings.
What Makes It Stand Out
What truly makes Chocolate Peppermint Bark stand out is its combination of taste and ease of preparation. This two-layer treat offers a delightful balance of flavors, and the simple process is perfect for kitchen novices and seasoned bakers alike. Best of all, you can make large batches to share, making it ideal for parties or holiday celebrations.
Customization is another aspect that makes Chocolate Peppermint Bark a winner. You can easily change the flavor profile by adding nuts, adjusting the peppermint extract levels, or switching between chocolate varieties. Feel free to get creative and make it your own!
Ingredients for Chocolate Peppermint Bark
Complete Ingredient List with Measurements
- 2 cups high-quality semi-sweet or dark chocolate
- 2 1/2 cups high-quality white chocolate
- 1/4 teaspoon peppermint extract
- 1/2 cup crushed candy canes
Substitutes and Alternatives
If you have dietary restrictions, you can make some easy swaps. Opt for dairy-free chocolate if you’re looking for a vegan version of Chocolate Peppermint Bark. Alternatively, use gluten-free candy canes for those with gluten sensitivities. For a nut-free recipe, just avoid any added nuts or toppings.
How to Make Chocolate Peppermint Bark – Step-by-Step Directions
Step 1 – Prepare Ingredients
Gather all your ingredients before you start. This makes the process seamless and fun! It’s important to have your chocolate, peppermint extract, and crushed candy canes ready to go to streamline your workflow.
Step 2 – Cook the Base
Gently melt the semi-sweet chocolate using a double boiler or microwave. If you’re using the microwave, set it to 50% power and heat for 30 seconds at a time, stirring in between. You’re looking for a smooth consistency without lumps.
Step 3 – Add Peppermint Extract
Once your semi-sweet chocolate is fully melted, stir in the peppermint extract. This adds that signature minty flavor that will make your bark irresistible. Ensure it’s thoroughly mixed for an even distribution of flavor.
Step 4 – Pour the Dark Chocolate Layer
Carefully pour the melted chocolate onto a parchment-lined baking sheet or a 9-inch square pan. Spread it evenly, aiming for a thickness of about 1/4 inch. The thickness can be adjusted, but keep in mind that thicker layers may take longer to set.
Step 5 – Chill to Set
Place the baking sheet in the freezer for about 10 minutes or in the refrigerator for 15-20 minutes until the chocolate is mostly set. This step is crucial for creating defined layers.
Step 6 – Melt the White Chocolate
While your dark chocolate is setting, melt the white chocolate in the same manner as the dark chocolate. Keep a close eye on it and stir vigorously every 30 seconds to prevent burning. The white chocolate should be completely smooth.
Step 7 – Layer the White Chocolate
Once the dark chocolate is set, pour the white chocolate evenly over the top. Use a spatula to spread it out to cover the entire dark chocolate layer.
Step 8 – Add Crushed Candy Canes
Immediately sprinkle the crushed candy canes over the melted white chocolate while it’s still warm. This ensures the candies stick and creates a festive look.
Step 9 – Final Chill
Return the layered bark to the freezer or refrigerator until fully set. This should take about 30 to 45 minutes. The cooling process will help make slicing easier.
Step 10 – Slice and Store
Once fully set, remove the bark from the parchment and cut it into squares or triangles. Store it covered at room temperature or in the refrigerator until you’re ready to share.
Serving Suggestions for Chocolate Peppermint Bark
Best Occasions to Serve This Dish
Chocolate Peppermint Bark is perfectly suited for holiday gatherings, office parties, or as a thoughtful gift for friends. It fits seamlessly into a dessert table or can be served as an after-dinner treat.
What to Serve With It
Pair this delightful confection with a warm mug of hot cocoa or a cup of peppermint tea for a cozy experience. It also works well as a topping for vanilla ice cream, adding an extra layer of crunch and flavor.
How to Store Chocolate Peppermint Bark Properly
Best Storage Practices
The best way to store Chocolate Peppermint Bark is in an airtight container at room temperature. It can be kept in the fridge if you prefer a colder treat or if your home is particularly warm. To keep the pieces from sticking together, consider placing parchment paper between layers.
Reheating and Freezing Tips
Chocolate Peppermint Bark doesn’t need reheating, but if you wish to soften it a bit, simply let it sit at room temperature for a few minutes. You can freeze the bark for up to two months. Just remember to use a freezer-safe container and label for freshness.
Tips & Tricks for Chocolate Peppermint Bark
Mistakes to Avoid
1 – Using Low-Quality Chocolate: Quality chocolate affects flavor and texture. Invest in good quality for the best results.
2 – Overheating the Chocolate: Chocolate can easily burn in the microwave. Always use reduced power and stir frequently.
3 – Not Letting It Set Fully: Be patient! If not fully set, the layers may separate when cut.
4 – Skipping Parchment Paper: Always use parchment paper to prevent sticking and make removal easier.
5 – Neglecting to Crush the Candy Canes: Ensure candy canes are crushed finely enough to spread evenly.
Extra Tips for Better Results
For enhanced flavor, consider adding a pinch of sea salt over the top after adding the candy canes. This brings out the sweetness while balancing flavors beautifully. You can also experiment with different flavor extracts—try adding a splash of vanilla!
Recipe Variations of Chocolate Peppermint Bark
Creative Twists
Looking to switch things up? Try adding chopped nuts like pecans or almonds to the white chocolate layer for added flavor. You can also drizzle melted chocolate on top for a decorative touch. Another idea is to incorporate other flavors like orange or espresso to create unique flavor profiles.
Dietary Adjustments
For a vegan version of Chocolate Peppermint Bark, use dairy-free chocolate and ensure your candy canes don’t contain any animal products. You can also opt for gluten-free chocolate. With a few simple tweaks, you can cater to dietary restrictions without losing flavor.
Conclusion about Chocolate Peppermint Bark
If you’re looking for a fantastic way to embrace the holiday spirit or simply treat yourself, Chocolate Peppermint Bark is a must-try. This recipe blends high-quality chocolates with the refreshing taste of peppermint, creating a perfect balance that’s hard to resist. With simple ingredients and straightforward steps, you can whip up a batch in no time. So go ahead, indulge, and make delightful memories with this festive treat. Your friends and family will surely appreciate the homemade touch!
FAQs about Chocolate Peppermint Bark
Can I make Chocolate Peppermint Bark ahead of time?
Yes, you can make it up to two weeks in advance. Just make sure to store it in an airtight container to keep it fresh.
Can I use milk chocolate instead?
Absolutely! You can use milk chocolate instead of semi-sweet or dark for a sweeter flavor profile.
What can I do if my chocolate seizes?
If your chocolate seizes, try adding a small amount of coconut oil or vegetable shortening to help smooth it out again.
How do I prevent candy canes from getting sticky?
Make sure the chocolate is completely cool before adding the candy canes. Storing the bark in a cool place helps as well.
How long will the bark last?
Stored properly in an airtight container, Chocolate Peppermint Bark can last for up to two weeks at room temperature, or longer if refrigerated or frozen.
Can I use flavored chocolate?
Yes! Flavored chocolates can add a unique twist to your bark. Just adjust the peppermint extract to taste.
Is this recipe gluten-free?
Yes, the ingredients are naturally gluten-free, but be sure to check the labels on your chocolate and candy canes.
Can I freeze Chocolate Peppermint Bark?
Yes, you can freeze it! Just make sure it’s well-wrapped in an airtight container to prevent freezer burn.

Chocolate Peppermint Bark
Ingrédients
For the chocolate layers
- 2 cups high-quality semi-sweet or dark chocolate Use good quality chocolate for better flavor
- 2.5 cups high-quality white chocolate Ensure it melts smoothly
For flavoring and decoration
- 1/4 teaspoon peppermint extract Adjust according to taste
- 1/2 cup crushed candy canes Crushed finely for even distribution
Instructions
Preparation
- Gather all your ingredients before you start.
Cooking
- Gently melt the semi-sweet chocolate using a double boiler or microwave.
- Stir in the peppermint extract once the chocolate is fully melted.
- Pour the melted chocolate onto a parchment-lined baking sheet. Spread evenly to about 1/4 inch thick.
- Chill in the freezer for about 10 minutes or refrigerate for 15-20 minutes until mostly set.
- Melt the white chocolate in the same way as the dark chocolate until smooth.
- Pour the melted white chocolate evenly over the dark chocolate layer.
- Sprinkle crushed candy canes over the warm white chocolate before it sets.
- Return to the freezer or refrigerator until fully set, about 30 to 45 minutes.
Serving
- Once fully set, remove from parchment and cut into squares or triangles.
- Store in an airtight container until ready to share.