
Table of Contents
When it comes to nostalgic treats, few desserts evoke memories of childhood quite like Original Rice Krispie Treats. Don’t you remember the delight of biting into that chewy, marshmallowy goodness? This recipe has been a cherished favorite, passed down through generations, and for good reason: its simplicity and delicious flavor make it a go-to for families everywhere. Whether you’re hosting a party, looking for a fun snack, or just wanting to reminisce over your favorite childhood memories, these treats never disappoint.
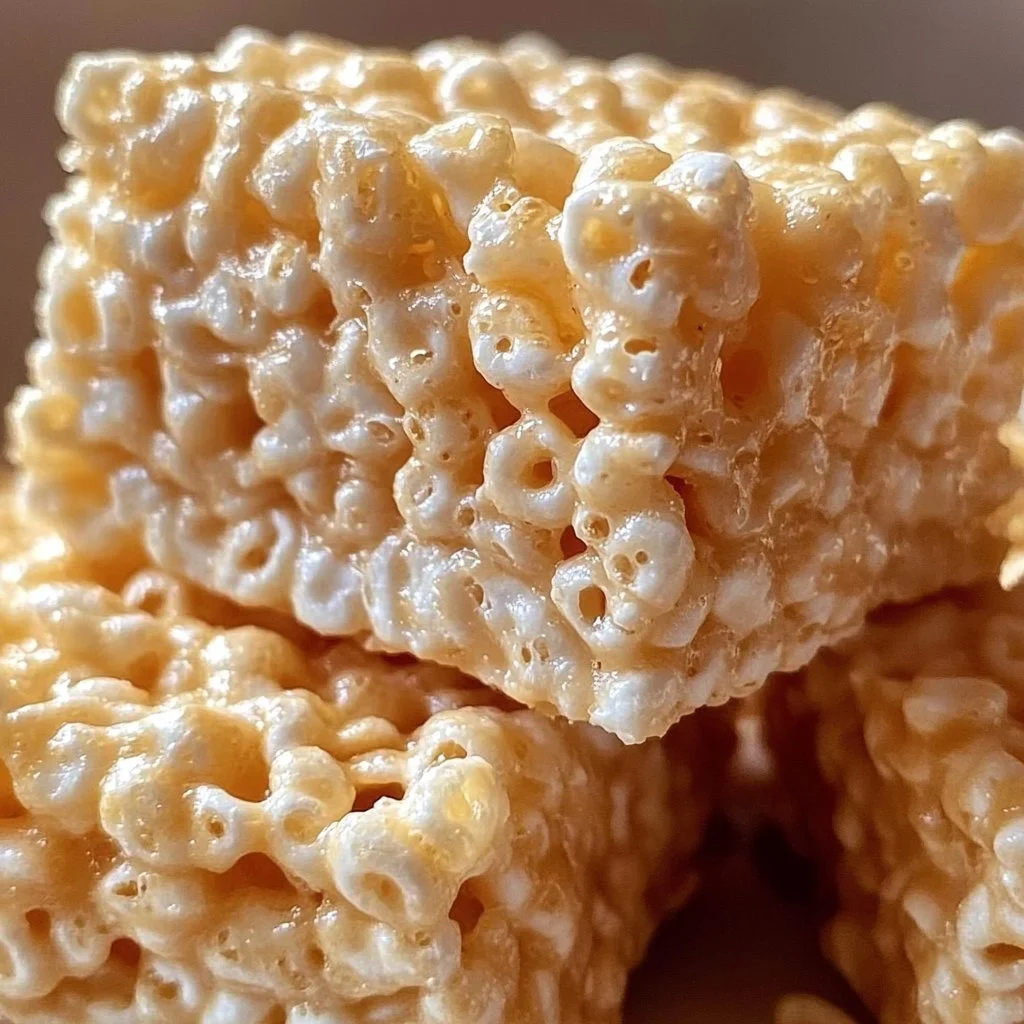
What makes Original Rice Krispie Treats so special? It’s all in the balance of flavors and textures. The buttery richness of the melted butter, the sweet, gooey texture of marshmallows, and the satisfying crunch of puffed rice cereal come together in perfect harmony. It’s a delightful and straightforward recipe that invites creativity and allows for personal touches. Have you ever considered how these treats could be personalized just for you?
The charm of Original Rice Krispie Treats lies in their versatility. These treats are easily customized, allowing you to incorporate your favorite additions or adapt to dietary restrictions. If you’ve never made them from scratch, you’re in for a treat. This easy recipe ensures you’ll always have a winning dessert on hand.
Key Benefits of Original Rice Krispie Treats
- Flavor Explosion: The combination of butter and marshmallows creates a rich and sweet taste that makes every bite satisfying.
- Simplicity: With just three main ingredients, this recipe is straightforward, making it perfect for novice bakers.
- Versatility: You can add mix-ins like chocolate chips, nuts, or dried fruit to suit your preference.
- Family Appeal: It’s a well-loved classic that both kids and adults enjoy.
- Quick to Make: You can whip up a batch in under 30 minutes, making it ideal for spontaneous gatherings.
- No Baking Required: Perfect for hot summer days when you want a cool treat without turning on the oven.
What Makes It Stand Out
Original Rice Krispie Treats are not just a dessert; they’re an experience. These treats are often associated with school bake sales, birthday parties, and family gatherings, making them a delightful way to create memories. The originality of the recipe allows for endless customization, whether it’s adding sprinkles for a festive look or incorporating flavored marshmallows for an extra twist.
This recipe serves as a foundation for countless variations, making it ideal for any occasion. From cozy family nights to large celebrations, Original Rice Krispie Treats can fit seamlessly into any event. Their simplicity ensures that anyone can make them, and their delicious flavor guarantees they will be a crowd-pleaser.
Ingredients for Original Rice Krispie Treats
- 45 grams unsalted butter, melted: Provides richness and flavor.
- 285 grams marshmallows: Offers sweetness and gooey texture. Use mini marshmallows for easier mixing.
- 150 grams puffed rice cereal: The main ingredient that adds crunch and structure.
Substitutes and Alternatives
If you’re looking to make substitutions for dietary needs or allergies, consider these options. You can use dairy-free butter and marshmallows for a vegan version. If you’re gluten-free, most puffed rice cereals are safe, but always check the label.
For those who prefer a less sweet version, you might reduce the amount of marshmallows slightly or use a sugar substitute. This recipe is adaptable, making it accessible for diverse diets.
How to Make Original Rice Krispie Treats – Step-by-Step Directions
Step 1 – Prepare Ingredients
Begin by gathering all your ingredients. Measure out the butter, marshmallows, and puffed rice cereal. It’s essential to have everything ready because the process goes quickly once you start.
Step 2 – Coat the Pan
Coat a 33 x 23 cm rectangular pan evenly with non-stick spray. This helps your treats come out smoothly once they’re set. Ensuring your pan is well-greased is key to avoiding a sticky mess later.
Step 3 – Melt the Butter
In a large microwave-safe bowl, heat the melted butter gently. Microwave in short intervals to prevent burning, ensuring a smooth and even melting process. This shouldn’t take more than a minute.
Step 4 – Add Marshmallows
Add the marshmallows to the bowl with the melted butter. Stir well to combine until the marshmallows are coated in the buttery goodness. This initial mix helps flavor the marshmallows evenly.
Step 5 – Microwave the Mixture
Microwave the mixture for 45 seconds. Remove it from the microwave and give it a thorough stir. You want everything well combined, with a smooth and glossy texture.
Step 6 – Repeat Heating
Put the bowl back in the microwave for another 45 seconds. Stir until the marshmallows are completely melted and smooth. This might take a couple of cycles, but patience is key!
Step 7 – Add Puffed Rice Cereal
Now, it’s time to add the puffed rice cereal into the melted marshmallow mixture. Stir carefully until every piece of cereal is evenly coated, creating that delicious texture we love.
Step 8 – Spread in the Pan
Evenly distribute the mixture into the prepared pan. Use a spatula or lightly greased hands to press it firmly into an even layer. Make sure to pack it down well for compact treats that won’t fall apart.
Step 9 – Let It Set
Allow the treats to cool at room temperature for about 30 minutes. This cooling will help them firm up, making them easier to cut into squares or rectangles later.
Step 10 – Cut and Serve
Once fully set, use a sharp knife to cut the treats into squares. Serve them immediately or keep them stored for later enjoyment.
Serving Suggestions for Original Rice Krispie Treats
Best Occasions to Serve This Dish
You’ll find Original Rice Krispie Treats perfect for a variety of occasions. They are a hit at birthday parties, where kids and adults alike can enjoy their sweetness.
These treats also shine at school events, bake sales, or potlucks. Their nostalgic appeal makes them a go-to for gatherings where sharing is encouraged.
Don’t forget about family movie nights! These treats can be a charming addition to a cozy evening at home. Serve them alongside popcorn for a fun snack mix.
What to Serve With It
- Chocolate Dipping Sauce: Melted chocolate for drizzling enhances flavor and adds a delightful touch.
- Ice Cream: Pair a crispy treat with a scoop of ice cream for a decadent dessert.
- Fresh Fruit: Berries or sliced bananas provide a fresh contrast to the sweetness of the rice crispy treats.
- Flavored Drinks: Lemonade or iced tea can complement the sweetness, refreshing your palate.
How to Store Original Rice Krispie Treats Properly
Best Storage Practices
To store Original Rice Krispie Treats, place them in an airtight container at room temperature. They will maintain their best texture and flavor for about 3 to 5 days.
If you prefer to keep them longer, consider refrigerating them. Just be aware that refrigeration can alter the texture slightly, making them a bit firmer.
Reheating and Freezing Tips
To reheat your treats, simply warm them in the microwave for about 10-15 seconds. This will help restore some of their original softness.
If you need to freeze them, wrap each piece in plastic wrap and place them in an airtight container. They can last up to two months in the freezer. When you’re ready to enjoy them, just let them thaw at room temperature.
Tips & Tricks for Original Rice Krispie Treats
Mistakes to Avoid
- Overheating the Marshmallows: This can lead to a hard, chewy texture. Aim for just melted and smooth.
- Not Coating the Pan: Skipping this step can result in treats that stick to the pan and are difficult to remove.
- Using Stale Cereal: Always check your puffed rice cereal for freshness; stale cereal can affect both texture and flavor.
- Overpacking the Mixture: Pressing too hard can make the treats too dense. Gently pack them for the best texture.
- Cutting While Warm: Allow the treats to cool fully before cutting to get clean, neat edges.
Extra Tips for Better Results
Experiment with flavors by incorporating vanilla extract or using flavored marshmallows. Adding mix-ins like chocolate chips or even sprinkles can take your treats to the next level. For a fun twist, consider using puffed quinoa or other cereal variations for different textures.
Recipe Variations of Original Rice Krispie Treats
Creative Twists
- Chocolate Rice Krispie Treats: Add cocoa powder to the butter and marshmallow mixture for a chocolaty delight.
- Decorative Holidays: Use seasonal sprinkles to make them festive. Red and green for Christmas or pastel colors for Easter can really elevate the look.
- Peanut Butter Bliss: Swirl in peanut butter with the melted marshmallows for an extra nutty flavor.
- S’mores Style: Layer in crushed graham crackers and mini marshmallows for a s’mores-inspired version that adds depth and crunch.
Dietary Adjustments
For a vegan option, use plant-based butter and marshmallows. Gluten-free versions are easily achieved by selecting certified gluten-free puffed rice cereal. Dairy-free needs can be met with similar substitutes, creating a delicious treat for everyone to enjoy.
Conclusion about Original Rice Krispie Treats
In summary, Original Rice Krispie Treats are a beloved classic that resonates with many people for their simplicity and delightful flavor. This recipe is not just about making a dessert; it’s about creating memories with friends and family. Their versatility allows for endless adaptations, ensuring that you can cater to differing tastes and dietary needs, making them an excellent choice for any occasion.
As you embark on making your own batch of Original Rice Krispie Treats, remember that the magic lies in the experience. Whether you enjoy them plain or decide to get creative with mix-ins, you’ll create delicious moments that everyone can cherish. So roll up your sleeves, gather your ingredients, and indulge in this timeless treat!
FAQs about Original Rice Krispie Treats
Can I prepare it ahead of time?
Yes, you can make Original Rice Krispie Treats a day or two in advance. Just store them in an airtight container.
Can I freeze it?
Absolutely! Wrap pieces tightly in plastic wrap and place them in an airtight container before freezing.
How long does it last?
Stored properly, they can last about 3 to 5 days at room temperature or up to 2 months in the freezer.
What are the best substitutions?
Vegan butter and marshmallows are great for a dairy-free version. Use gluten-free cereal for a gluten-free option.
Is this recipe family-friendly?
Definitely! Kids love helping make the treats, and they are perfect for family gatherings.
Can I add other ingredients?
Yes! Chocolate chips, nuts, or even dried fruit work well as mix-ins for added flavor and texture.
What’s the best way to cut them?
Use a sharp knife and cut them after they have cooled completely for clean edges.
Can I make them in a different size pan?
Yes! Just adjust the measurements according to the pan size, keeping the ratio of ingredients balanced.
Are there gluten-free cereals available?
Yes, many brands offer gluten-free puffed rice cereals. Always check the label to be sure.
How can I make them more colorful?
Add colored sprinkles or even use flavored marshmallows for a fun, colorful twist!

Original Rice Krispie Treats
Ingrédients
Main Ingredients
- 45 grams unsalted butter, melted Provides richness and flavor.
- 285 grams marshmallows Offers sweetness and gooey texture. Use mini marshmallows for easier mixing.
- 150 grams puffed rice cereal The main ingredient that adds crunch and structure.
Instructions
Preparation
- Prepare ingredients by gathering all your measured butter, marshmallows, and puffed rice cereal.
- Coat a 33 x 23 cm rectangular pan evenly with non-stick spray.
- In a large microwave-safe bowl, melt the butter gently, microwaving in short intervals.
- Add marshmallows to the melted butter and stir well to combine.
- Microwave the mixture for 45 seconds, then stir thoroughly.
- Repeat heating for another 45 seconds until the marshmallows are fully melted and smooth.
- Stir in puffed rice cereal until evenly coated.
- Spread the mixture into the prepared pan and press down firmly.
- Allow treats to cool at room temperature for about 30 minutes.
- Once set, cut into squares and serve.