

Table of Contents
Introduction to Easy Homemade Popovers
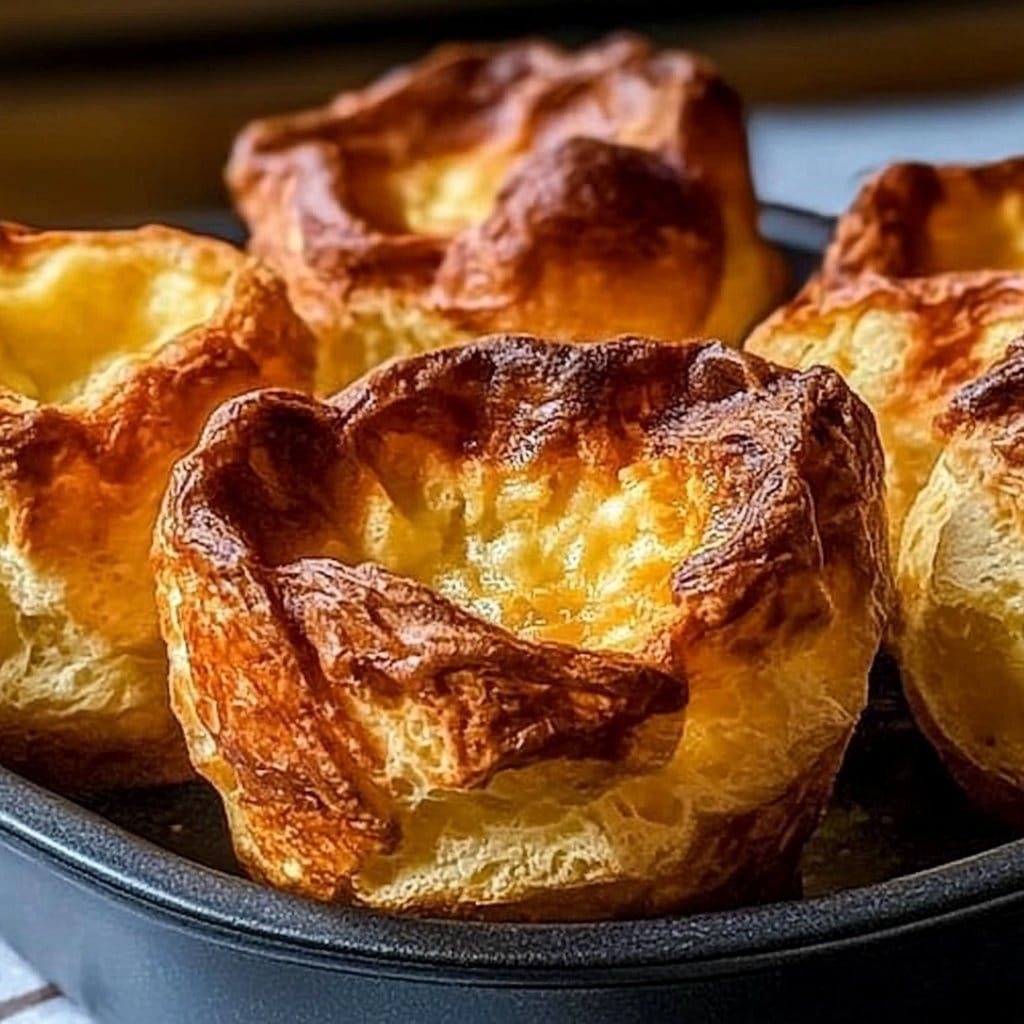
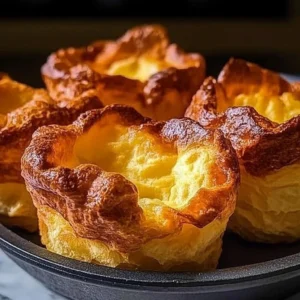
Have you ever craved a warm, airy delight that feels as light as a cloud? If that’s a yes, then Easy Homemade Popovers are just what you need to satisfy that craving. These delightful little puffs are not only delicious but also a breeze to make. Imagine pulling perfect, golden popovers out of your oven, with their crispy exteriors and soft, hollow centers. They are perfect for breakfast, brunch, or even as a side dish to elevate your dinner experience.
What makes Easy Homemade Popovers special is their simplicity. With just a handful of ingredients—eggs, milk, flour, and salt—you can create something that seems far more complex than it really is. The beauty of this recipe lies in its versatility; you can serve them plain, add savory herbs, or even sweet toppings. They can be enjoyed with a variety of meals, making them a fantastic addition to any dining table.
Have you ever wondered what the secret is to achieving that remarkable lift and airy texture? It’s all about the batter and the high heat that encourages the popovers to rise beautifully. Whether you’re making them for a family breakfast or as an inspiring side while entertaining guests, Easy Homemade Popovers will impress everyone around. Let’s dive into why this recipe should be on every home cook’s list!
Key Benefits of Easy Homemade Popovers
Why You’ll Love This Recipe
- Quick and Simple: All it takes is a few ingredients and minimal effort.
- Perfect for Any Occasion: Great for breakfast, brunch, or dinner.
- Delightfully Light: Enjoy a fluffy texture that melts in your mouth.
- Customizable: Add your favorite cheese or herbs to make them uniquely yours.
- Impressive Presentation: Golden, puffed, and beautiful—sure to wow your guests.
- Budget-Friendly: Ingredients are inexpensive and commonly found at home.
What Makes It Stand Out
Easy Homemade Popovers are distinct from other baked goods due to their unique texture and shape. The batter’s ability to create a puffed exterior while staying light and airy inside makes them quite extraordinary. Most popover recipes require ingredients that are easily accessible, so you don’t have to break the bank to enjoy this delightful dish.
Customization options are vast—from savory to sweet—allowing for creative spins that suit any palate. You can incorporate different flavors like cheese, herbs, or even spices to create a popover that reflects your taste. These popovers shine during gatherings, family dinners, or even a cozy night in. Their versatility and visual appeal contribute to their status as a crowd favorite!
Ingredients for Easy Homemade Popovers
Complete Ingredient List with Measurements
- 2 eggs
- 1 cup milk
- 1 cup all-purpose flour
- 1/2 teaspoon salt
- Butter (for greasing the muffin tin)
Substitutes and Alternatives
For those with dietary restrictions or allergies, there are several options. If you’re gluten-intolerant, you can use gluten-free all-purpose flour instead. For a dairy-free option, substituting milk with almond milk or another dairy-free alternative works great. Eggs are crucial for the puff, but for a vegan version, consider using a flaxseed meal or commercial egg replacer that caters to leavening needs.
How to Make Easy Homemade Popovers – Step-by-Step Directions
Step 1 – Prepare Ingredients
Before you start, gather all your ingredients to ensure a smooth process. This means cracking the eggs, measuring the milk, and sifting the flour and salt together. Prepping ahead helps streamline your cooking.
Step 2 – Preheat the Oven
Preheat your oven to 425°F (220°C). The high temperature is essential for creating those lofty popovers. Don’t forget to grease your muffin tin with butter, ensuring that each cup is evenly coated to prevent sticking.
Step 3 – Whisk the Eggs and Milk
In a mixing bowl, whisk together the eggs and milk until they are fully combined. You should have a frothy liquid with a slight airy texture. This base is key to achieving that light puffiness.
Step 4 – Combine Dry Ingredients
Gradually add the sifted flour and salt to the egg and milk mixture. Mix until the batter is smooth, making sure not to over-mix as that could affect the texture. A few lumps are perfectly fine; they will dissolve as the batter bakes.
Step 5 – Fill the Muffin Tin
Pour the prepared batter into the greased muffin tin, filling each cup about halfway. The batter will expand significantly during baking, so don’t overfill them.
Step 6 – Bake in the Oven
Place the muffin tin in the preheated oven and bake for 25–30 minutes. Keep an eye on them; the popovers should rise and turn a beautiful golden brown.
Step 7 – Check Doneness
Around the 25-minute mark, check your popovers. They should be puffed and firm to the touch when done. If they need a little more time, feel free to leave them in for an additional 5 minutes to achieve a perfect golden hue.
Step 8 – Serve Warm
Once you’ve removed the popovers from the oven, let them cool slightly before serving. They are best enjoyed fresh and warm right out of the oven.
Serving Suggestions for Easy Homemade Popovers
Best Occasions to Serve This Dish
Easy Homemade Popovers are incredibly versatile and suitable for various occasions. They are an excellent choice for weekend brunches, where their light texture pairs beautifully with eggs and fresh fruit. Think about serving them at family gatherings or holidays as a delightful side to your main dish. Their elegant appearance makes them a fantastic addition to more formal dinners, impressing guests effortlessly.
What to Serve With It
Popovers are perfect on their own, but pairing them enhances the experience. Serve them with delicious spreads like butter, jam, or whipped cream for a sweet treat. For a savory touch, try pairing them with soups, salads, or even roasted meats. They are also terrific with cheese, adding a gourmet flair to your dish.
How to Store Easy Homemade Popovers Properly
Best Storage Practices
If you have leftovers, store them in an airtight container in the fridge for up to two days. To keep them fresh, avoid storing uncovered as this can lead to drying out.
Reheating and Freezing Tips
To reheat your popovers, simply place them in a preheated oven at 350°F (175°C) for about 5–7 minutes, until warmed through and crispy again. Freezing is another option; allow them to cool completely before placing in a freezer-safe bag or container. When ready to eat, thaw and reheat as mentioned above.
Tips & Tricks for Easy Homemade Popovers
Mistakes to Avoid
- Skipping Preheating: Ensure your oven is at the right temperature for optimal puff.
- Over-Mixing: Too much mixing can lead to denser popovers.
- Filling Too High: Remember to fill only halfway to allow enough space for rising.
- Poor Tin Preparation: Thoroughly grease your tin to prevent sticking.
- Not Checking Temperature: Use an oven thermometer to ensure accurate settings.
Extra Tips for Better Results
For added flavor, consider incorporating finely chopped herbs or cheese into the batter. You can also experiment with different texture influences by adjusting the flour type or the liquid used, like using buttermilk for a lovely tang.
Recipe Variations of Easy Homemade Popovers
Creative Twists
Think about adding toppings or ingredients, such as grated cheese for a savory kick. You can also mix in cooked herbs like rosemary or thyme to bring another level of flavor. For a sweeter twist, some chocolate chips mixed into the batter will surprise your taste buds!
Dietary Adjustments
With minor tweaks, Easy Homemade Popovers can be accessible for different diets. Use gluten-free flour mixes or almond milk for dairy restrictions, and an egg substitute for vegan needs. Adaptations can be simple yet impactful.
Conclusion about Easy Homemade Popovers
In conclusion, Easy Homemade Popovers are a must-try recipe for anyone eager to delight family and friends with something that’s both impressive and delicious. They provide a unique dining experience and are incredibly simple to prepare with just a few ingredients. Their airy, light texture can complement a variety of dishes, making them a versatile addition to your recipe collection. Whether for special occasions or just a cozy family dinner, Easy Homemade Popovers will surely become a family favorite. Give them a try, and you won’t be disappointed!
FAQs about Easy Homemade Popovers
How long do Easy Homemade Popovers last?
They can be stored in an airtight container in the fridge for up to two days for best quality.
Can I make Easy Homemade Popovers ahead of time?
While popovers are best when fresh, you can prepare the batter ahead and store it in the fridge overnight before baking.
Do I need to use a muffin tin, or can I use other pans?
A muffin tin is recommended for the best shape and rise, but you can also use popover pans if you have them.
Why are my popovers not rising?
Check if your oven is preheated to the right temperature and that you didn’t over-mix the batter, which can affect the puffing.
Can I freeze leftover popovers?
Yes, they freeze well. Allow them to cool completely, then store in a freezer-safe bag and reheating as needed.
What should I do if I forget to preheat the oven?
If you realize after filling the muffin tin, you can place them in a cold oven and turn on the heat; however, this may affect the puffiness.
Can I add flavors to the batter?
Absolutely! Herbs, cheese, or even bacon bits can be added for a savory twist, or chocolate chips for something sweeter.
How can I ensure my popovers don’t stick?
Be generous with greasing your muffin tin and consider using non-stick spray for added assurance.
Homemade Popovers
Equipment
- Popover pan or 12-cup muffin tin
- Mixing bowl
- Whisk
- Measuring cups and spoons
- Oven
Ingrédients
Popover Batter
- 6 large eggs room temperature if possible
- 2 cups milk whole milk or whatever you have
- 1 1/2 cups all-purpose flour
- 1 tsp salt
- 3 Tbsp unsalted butter melted
Instructions
- Preheat oven to 450 °F (230 °C). Grease the popover pan or muffin tin wells with butter or nonstick spray, and place the pan in the oven while it heats.
- In a mixing bowl, whisk together the eggs until foamy. Gradually whisk in the milk, salt, and flour until the batter is smooth and free of lumps.
- Stir in the melted butter until just combined. Do not overmix.
- Carefully remove the hot pan from the oven. Pour the batter into each well about halfway full.
- Bake at 450 °F (230 °C) for 15 minutes. Without opening the oven, reduce the heat to 350 °F (175 °C) and continue baking for another 15–20 minutes, until the popovers are tall and golden brown.
- Remove from oven and serve immediately with butter and jam, honey, or maple syrup.